Set up Google Analytics
This tutorial will show you how to set up Google Analytics and add it to your website. By the end of this guide, you should have a basic understanding of GA4 and a Google Analytics configuration properly set up.
If, at any time, you feel lost or think you’ve made a mistake, you can use Linito’s diagnostic tool. It will help you detect configuration errors and correct them if necessary.
To get started, you will need to create three things:
- a Google Analytics account,
- a Google Analytics property,
- and a data stream.
The Google Analytics account is different from your own Google account. It’s actually a container that groups websites together. If you’re using Google Analytics for personal use, you’ll probably only have one account, which you’ll call Personal in this tutorial. If you’re using GA4 within an organization, such as a company, you’ll also probably only have one account, whose name is that of the organization. And if you’re a freelancer, managing websites for different organizations or individuals, in that case you should have one Google Analytics account per customer.
Once you’ve created your account, you’ll be able to create a property. A property is what represents a website in GA4. Its name is generally the name of your website.
And once you’ve completed this step, you’ll need to create a data stream. You can think of this as a connector between Google Analytics and your website. It’s the element that will allow your data to flow from your website to your Google Analytics property.
Ready to get started? Let’s go!
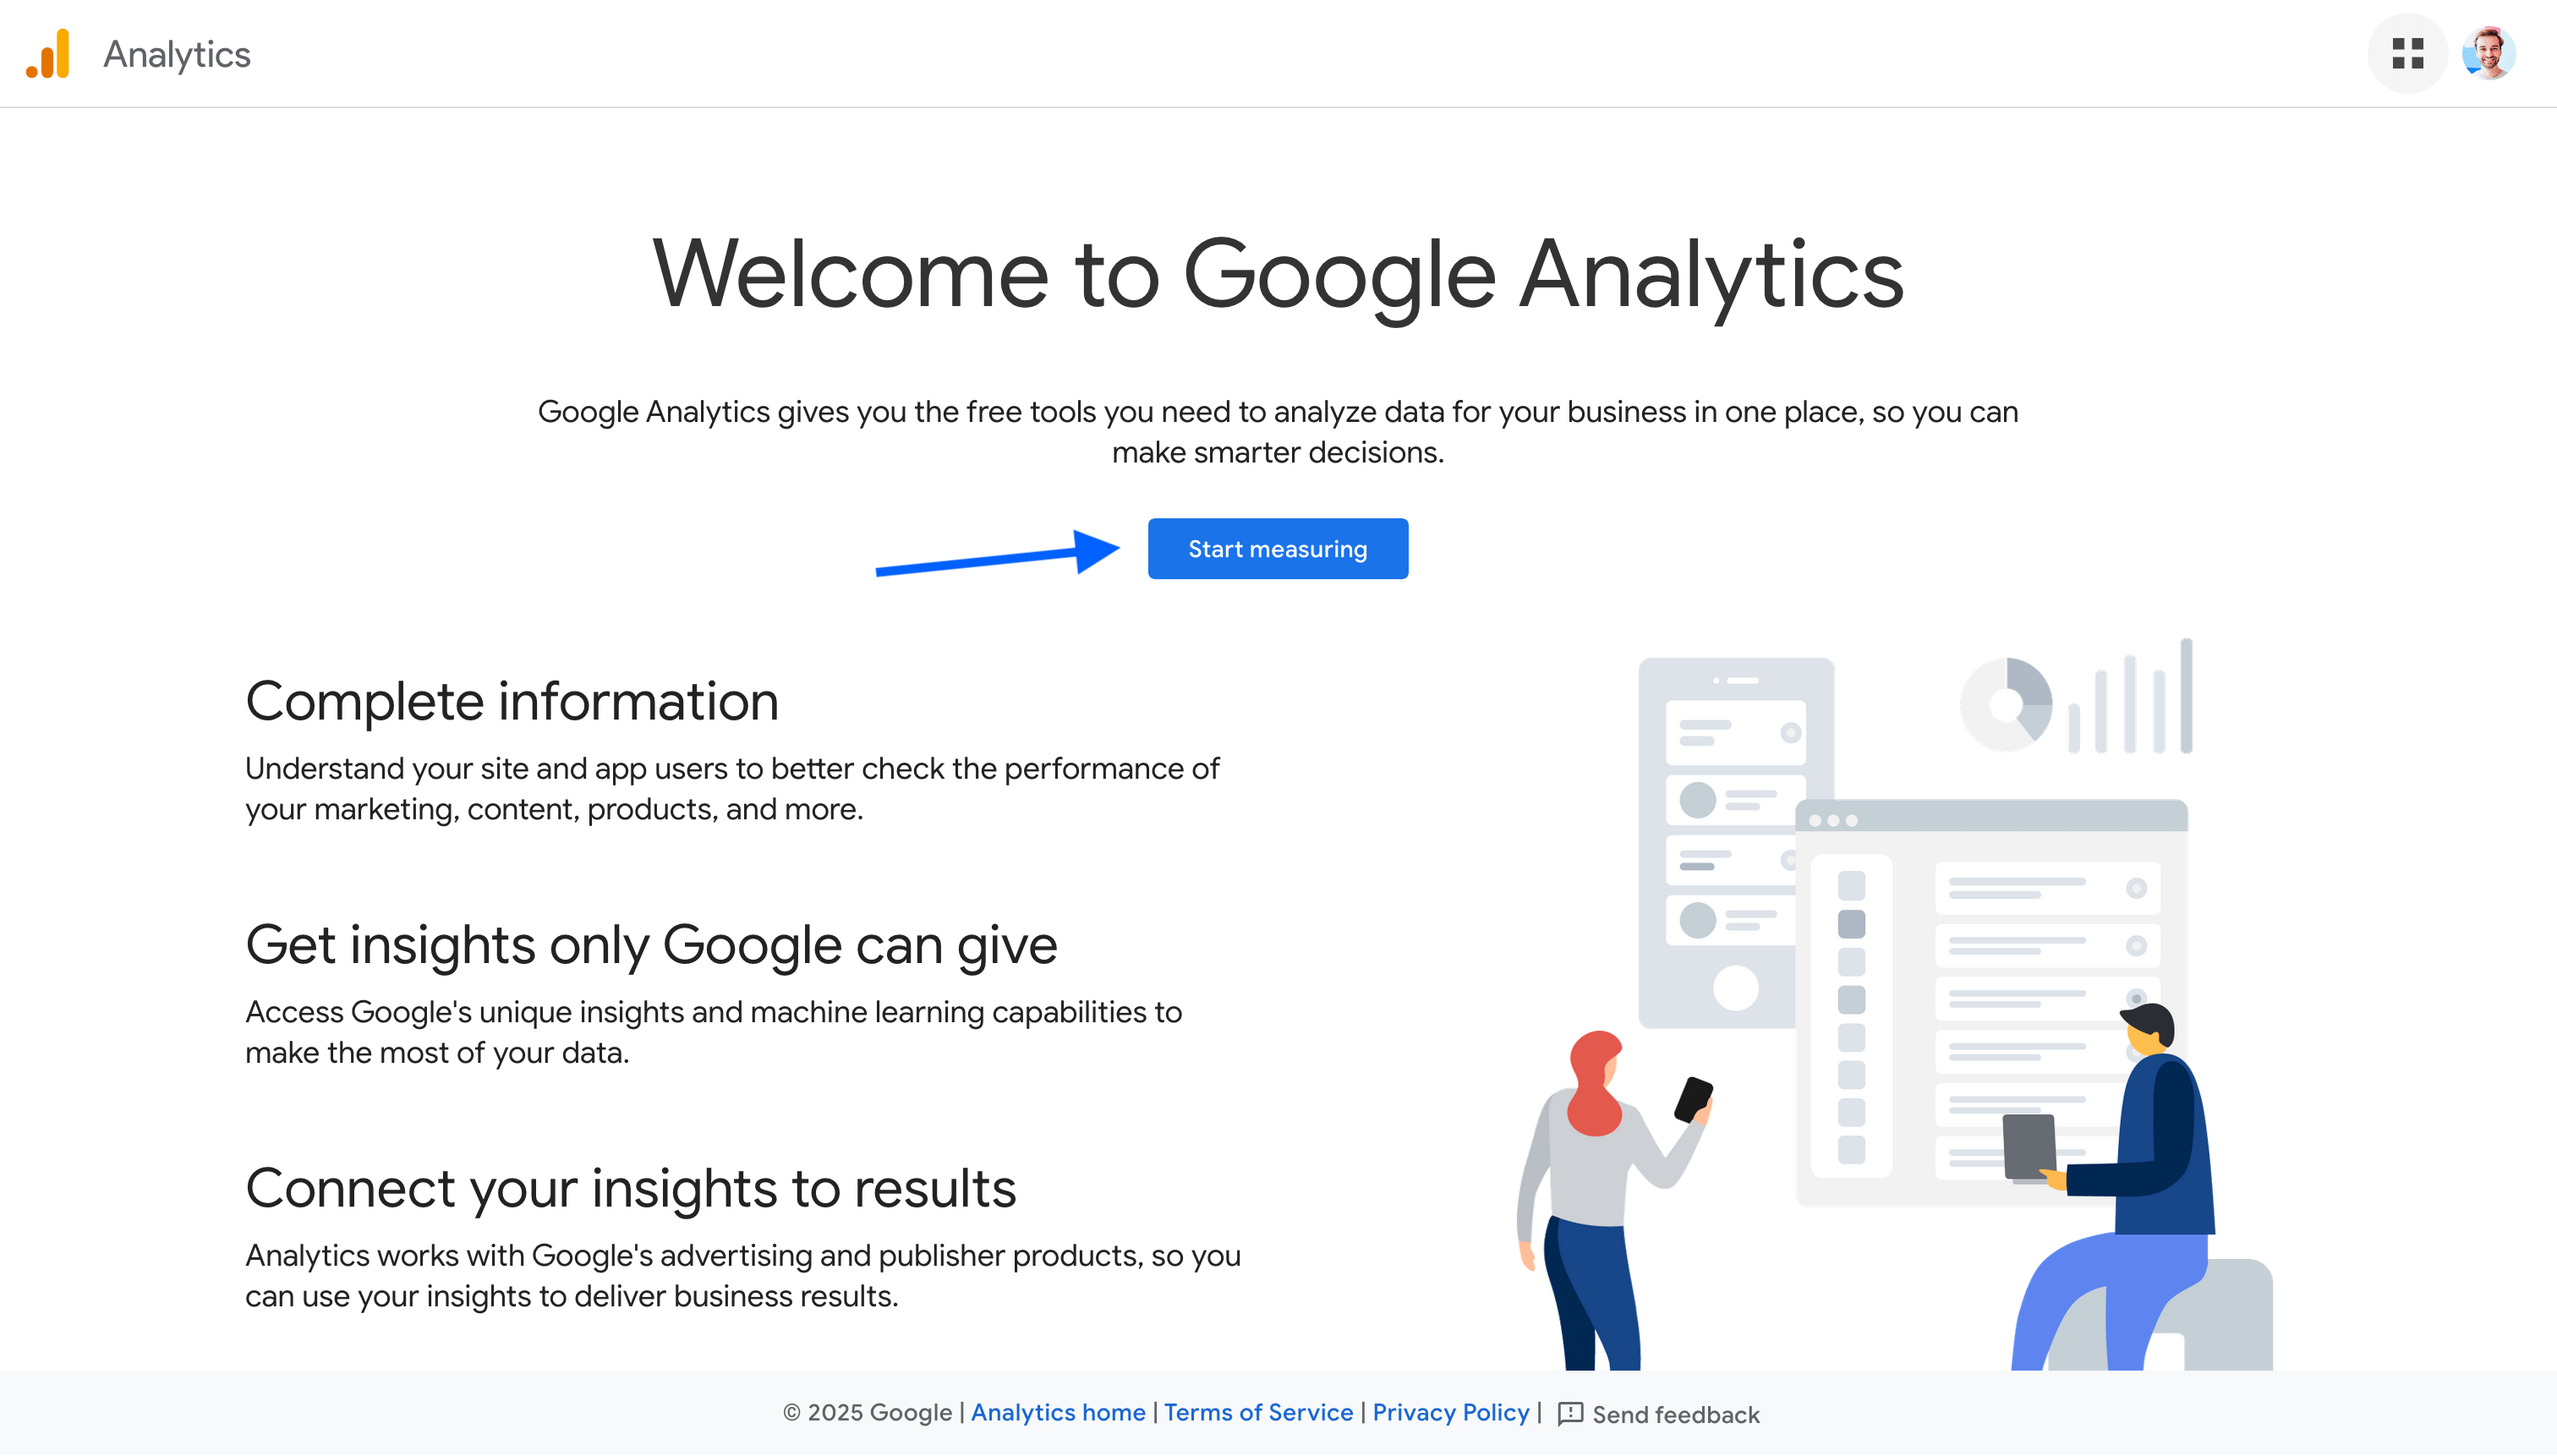
Open your browser and go to https://analytics.google.com. Once logged in, if you haven’t yet created a GA4 account, you should see this web page. Click on the Start measuring button.
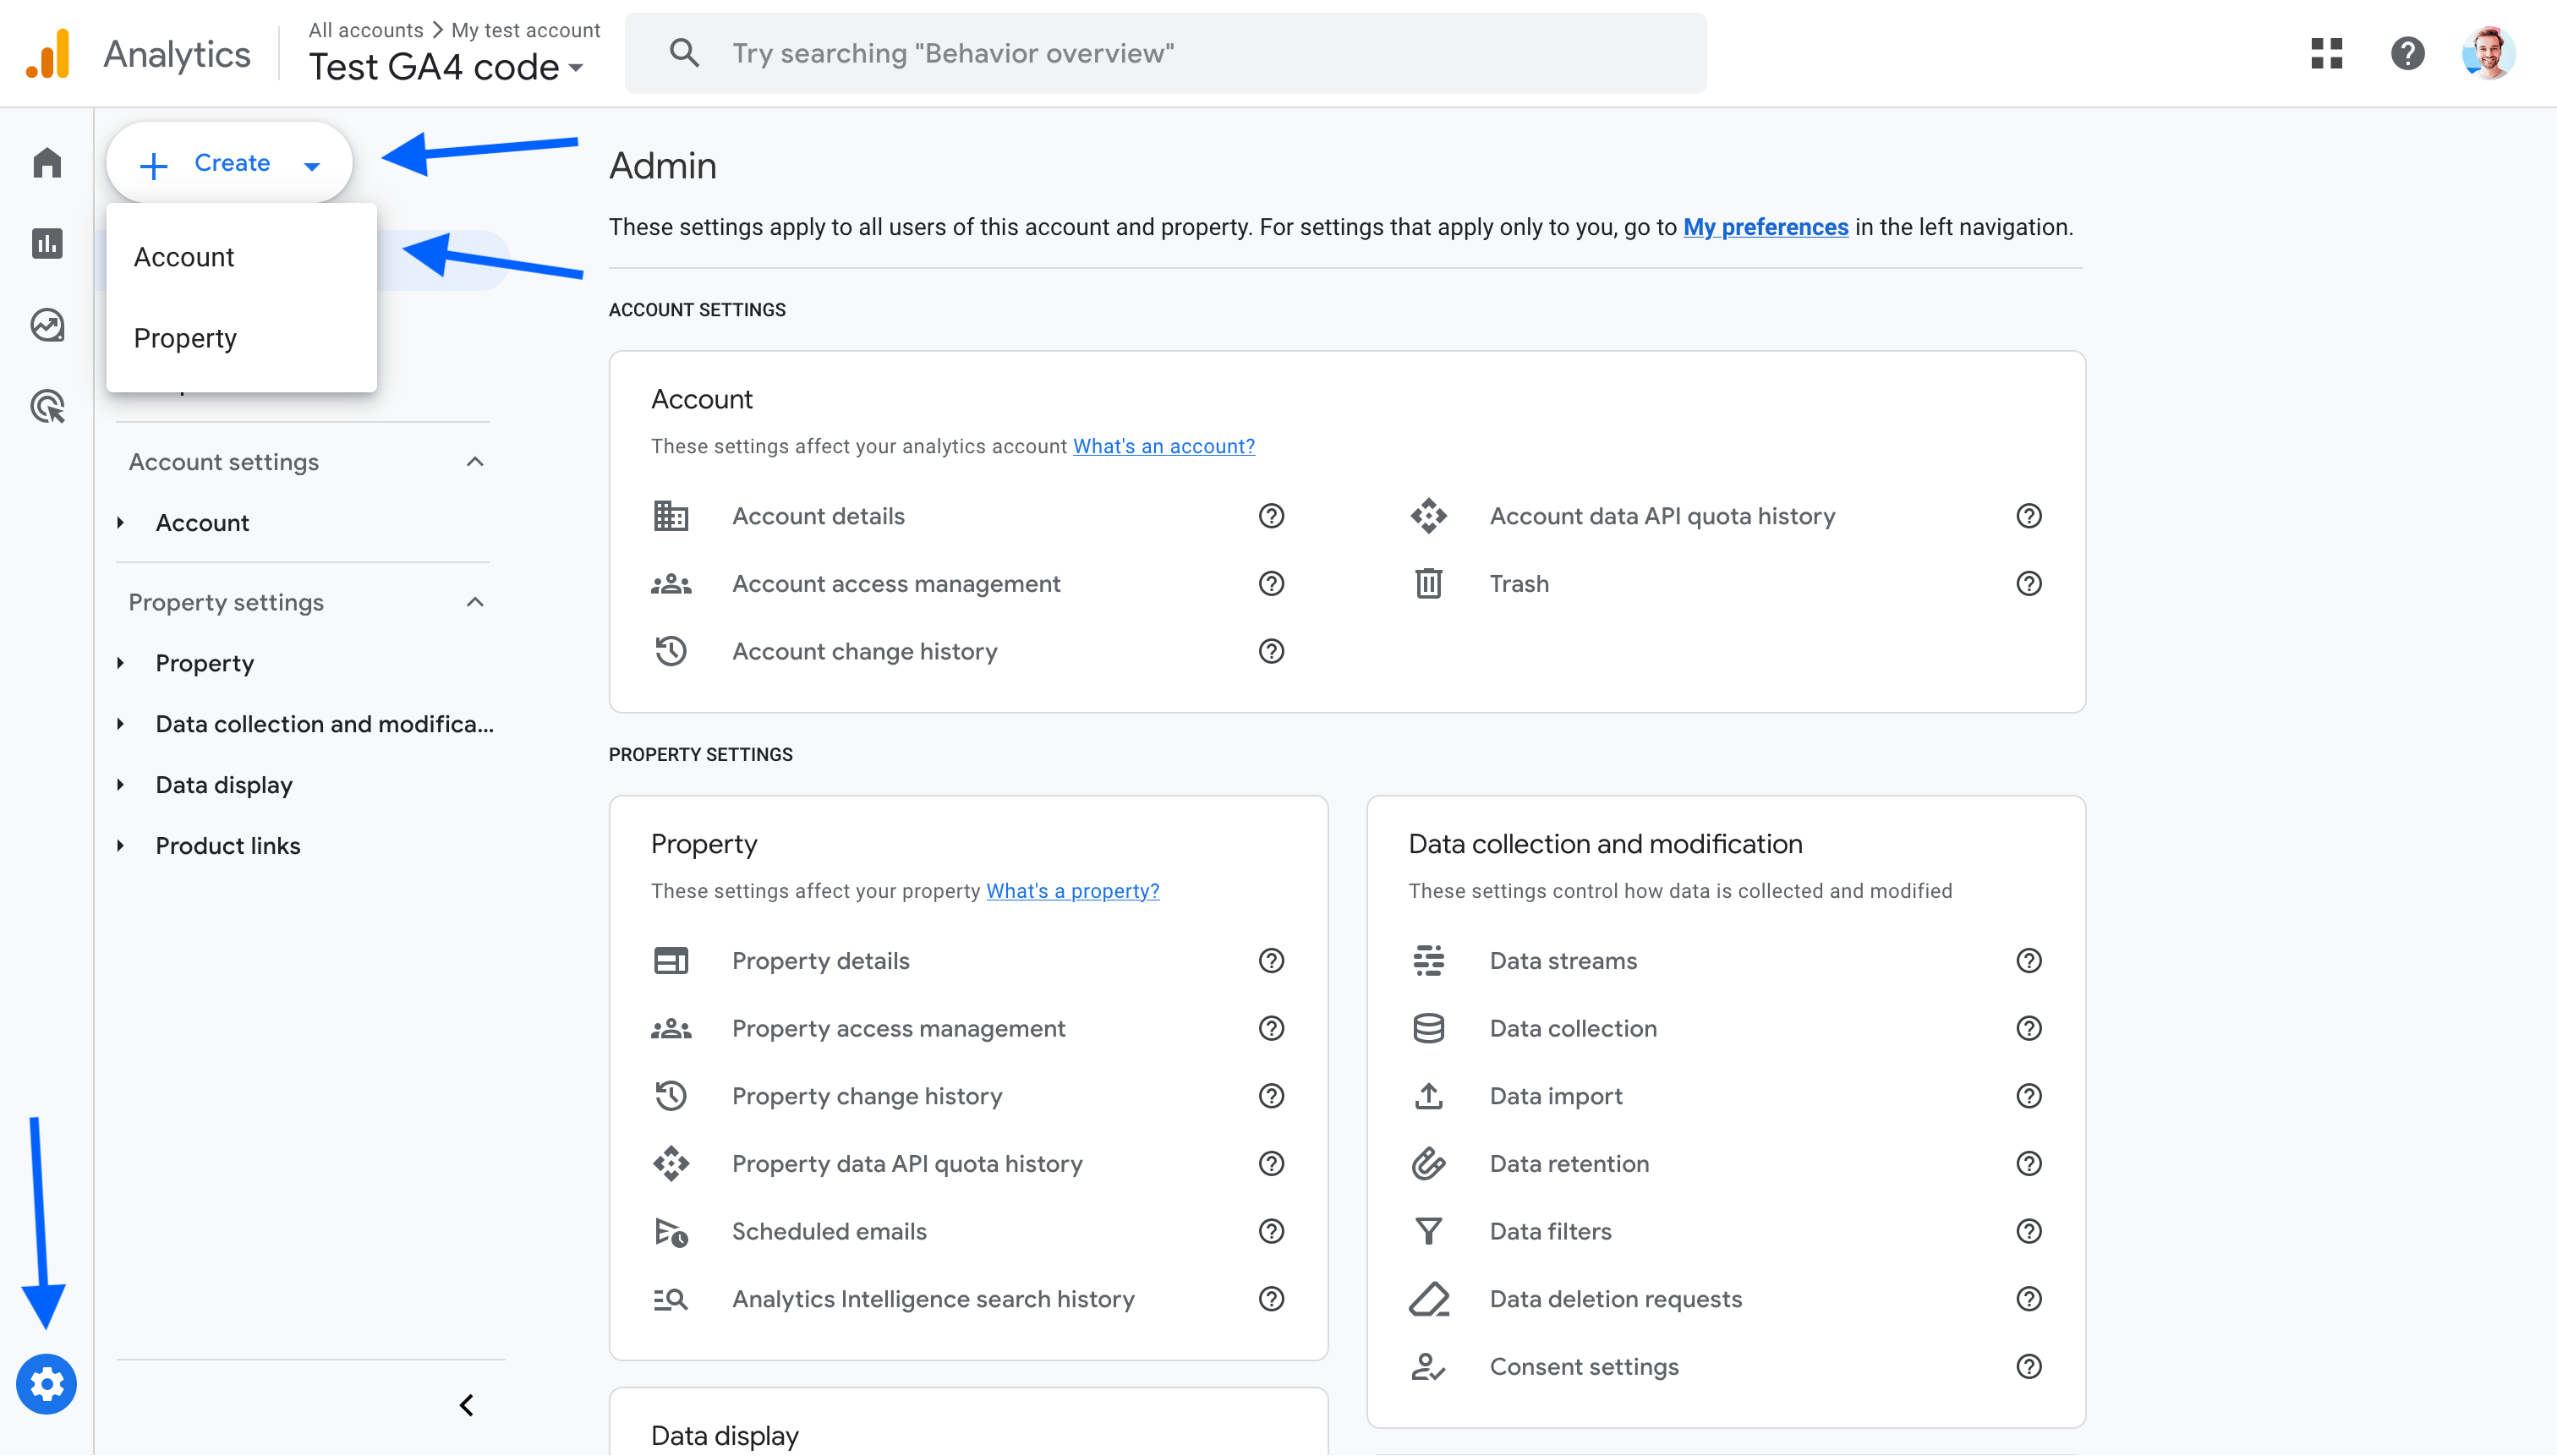
If you already have an account or a property, you should arrive on GA4 home page. In this case, you can follow the same steps by going to the administration panel as follows. You can also use Linito’s diagnostic tool to help you fix or complete your current configuration.
Create a GA4 account
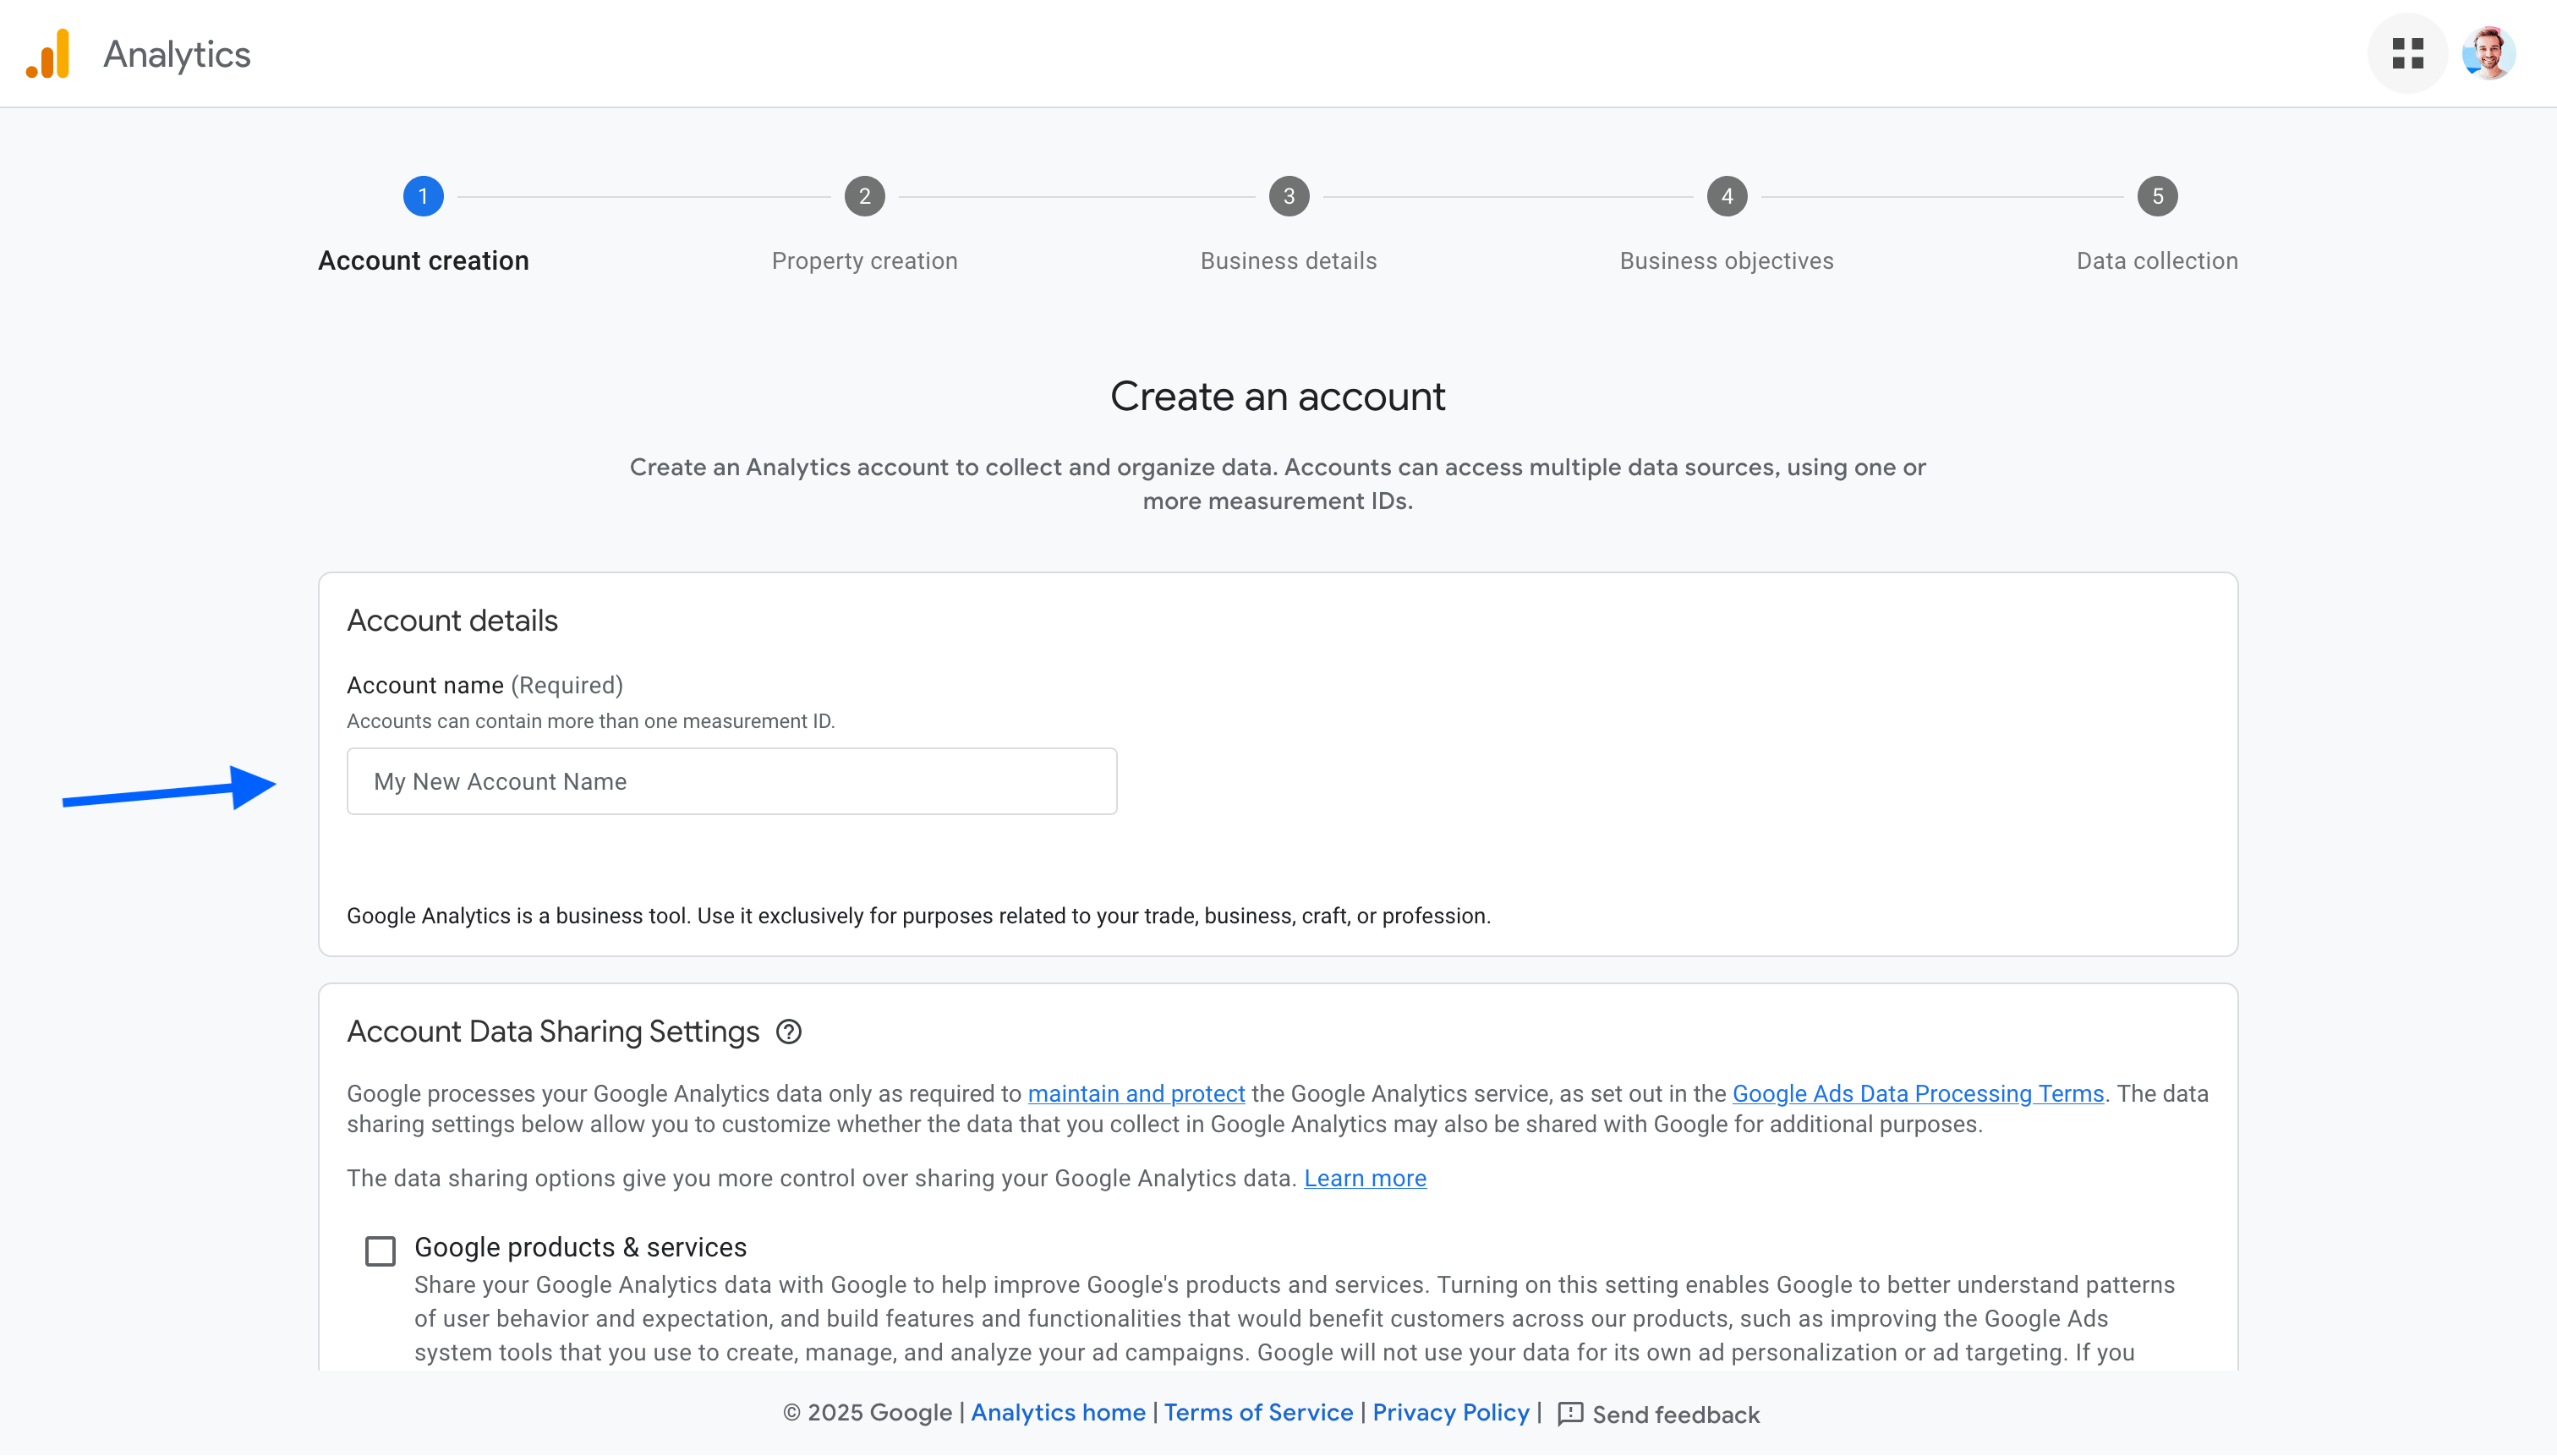
You should now see a form with various steps for configuring your analytics.
It’s important that you don’t click on the browser’s previous button at any stage of the process, otherwise you may end up with several accounts created at the same time. If you need to modify previous information, it’s best to click on the blue Back button.
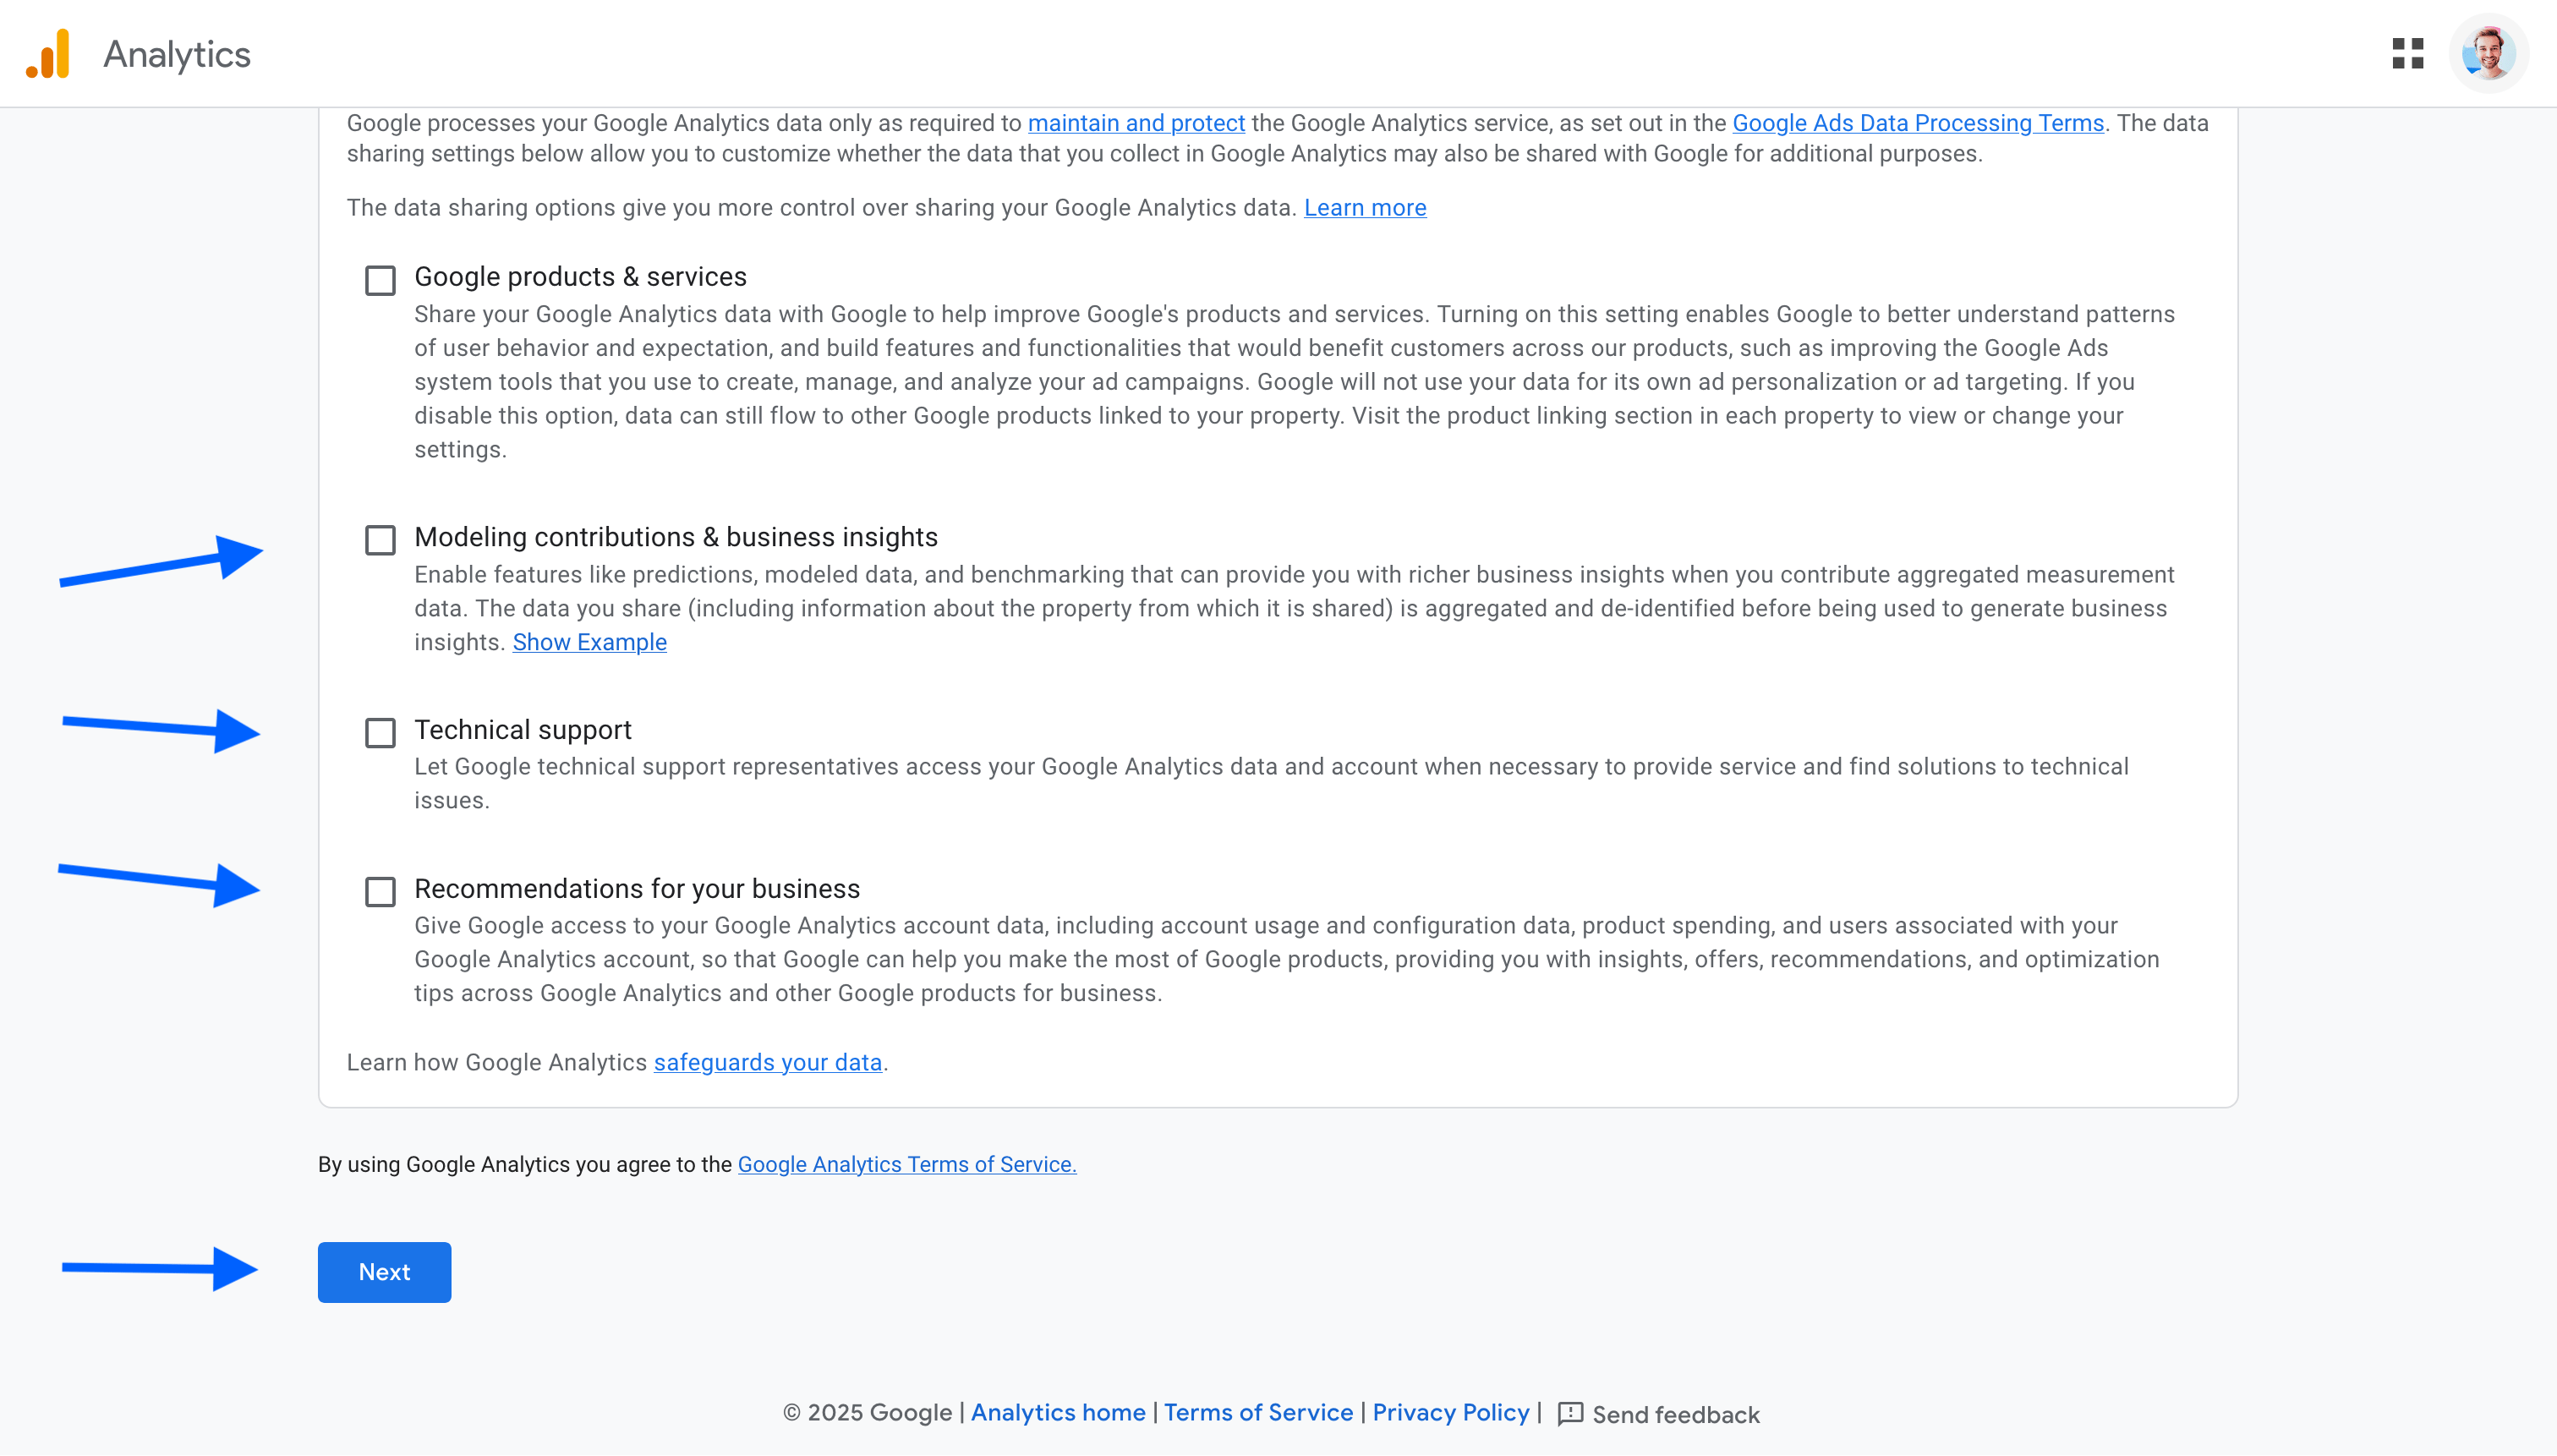
In the Account name field, enter the name of the organization, if applicable. Or enter Personal for personal use. Then deselect all options and click Next.
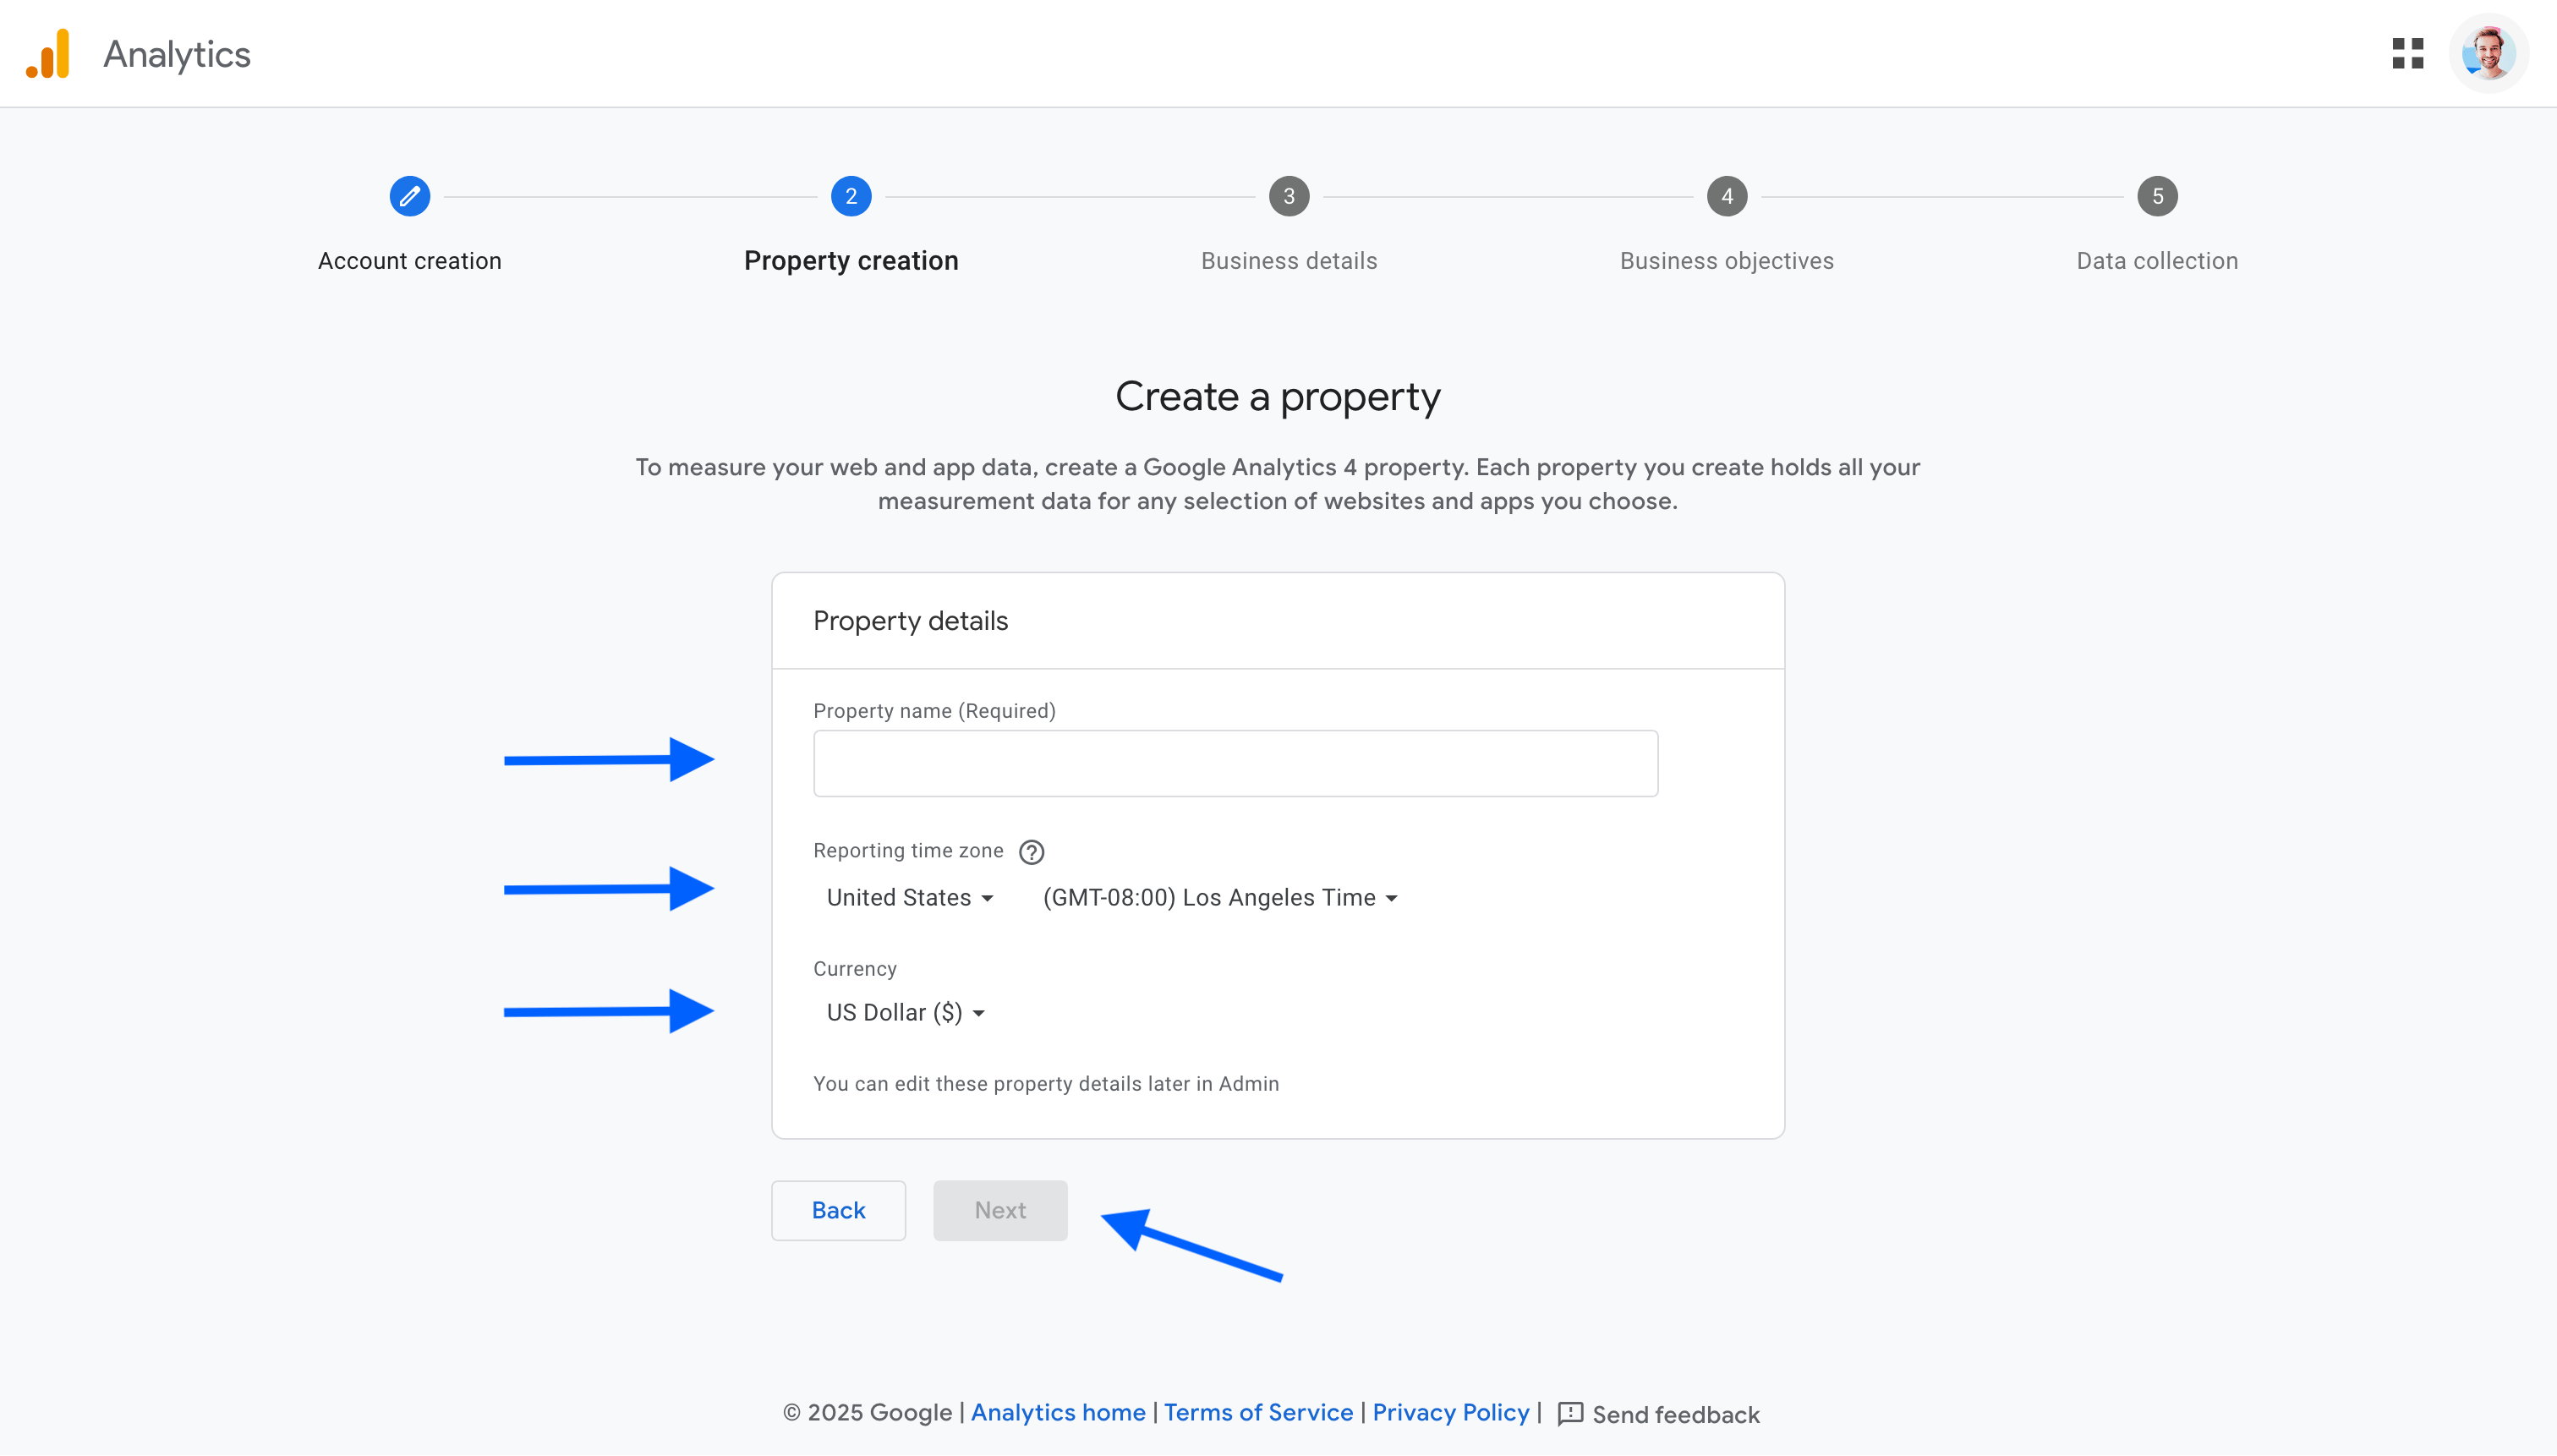
Create a GA4 property
Enter your website name, time zone and currency. The time zone you specify will determine how your traffic is aggregated in your dashboards.
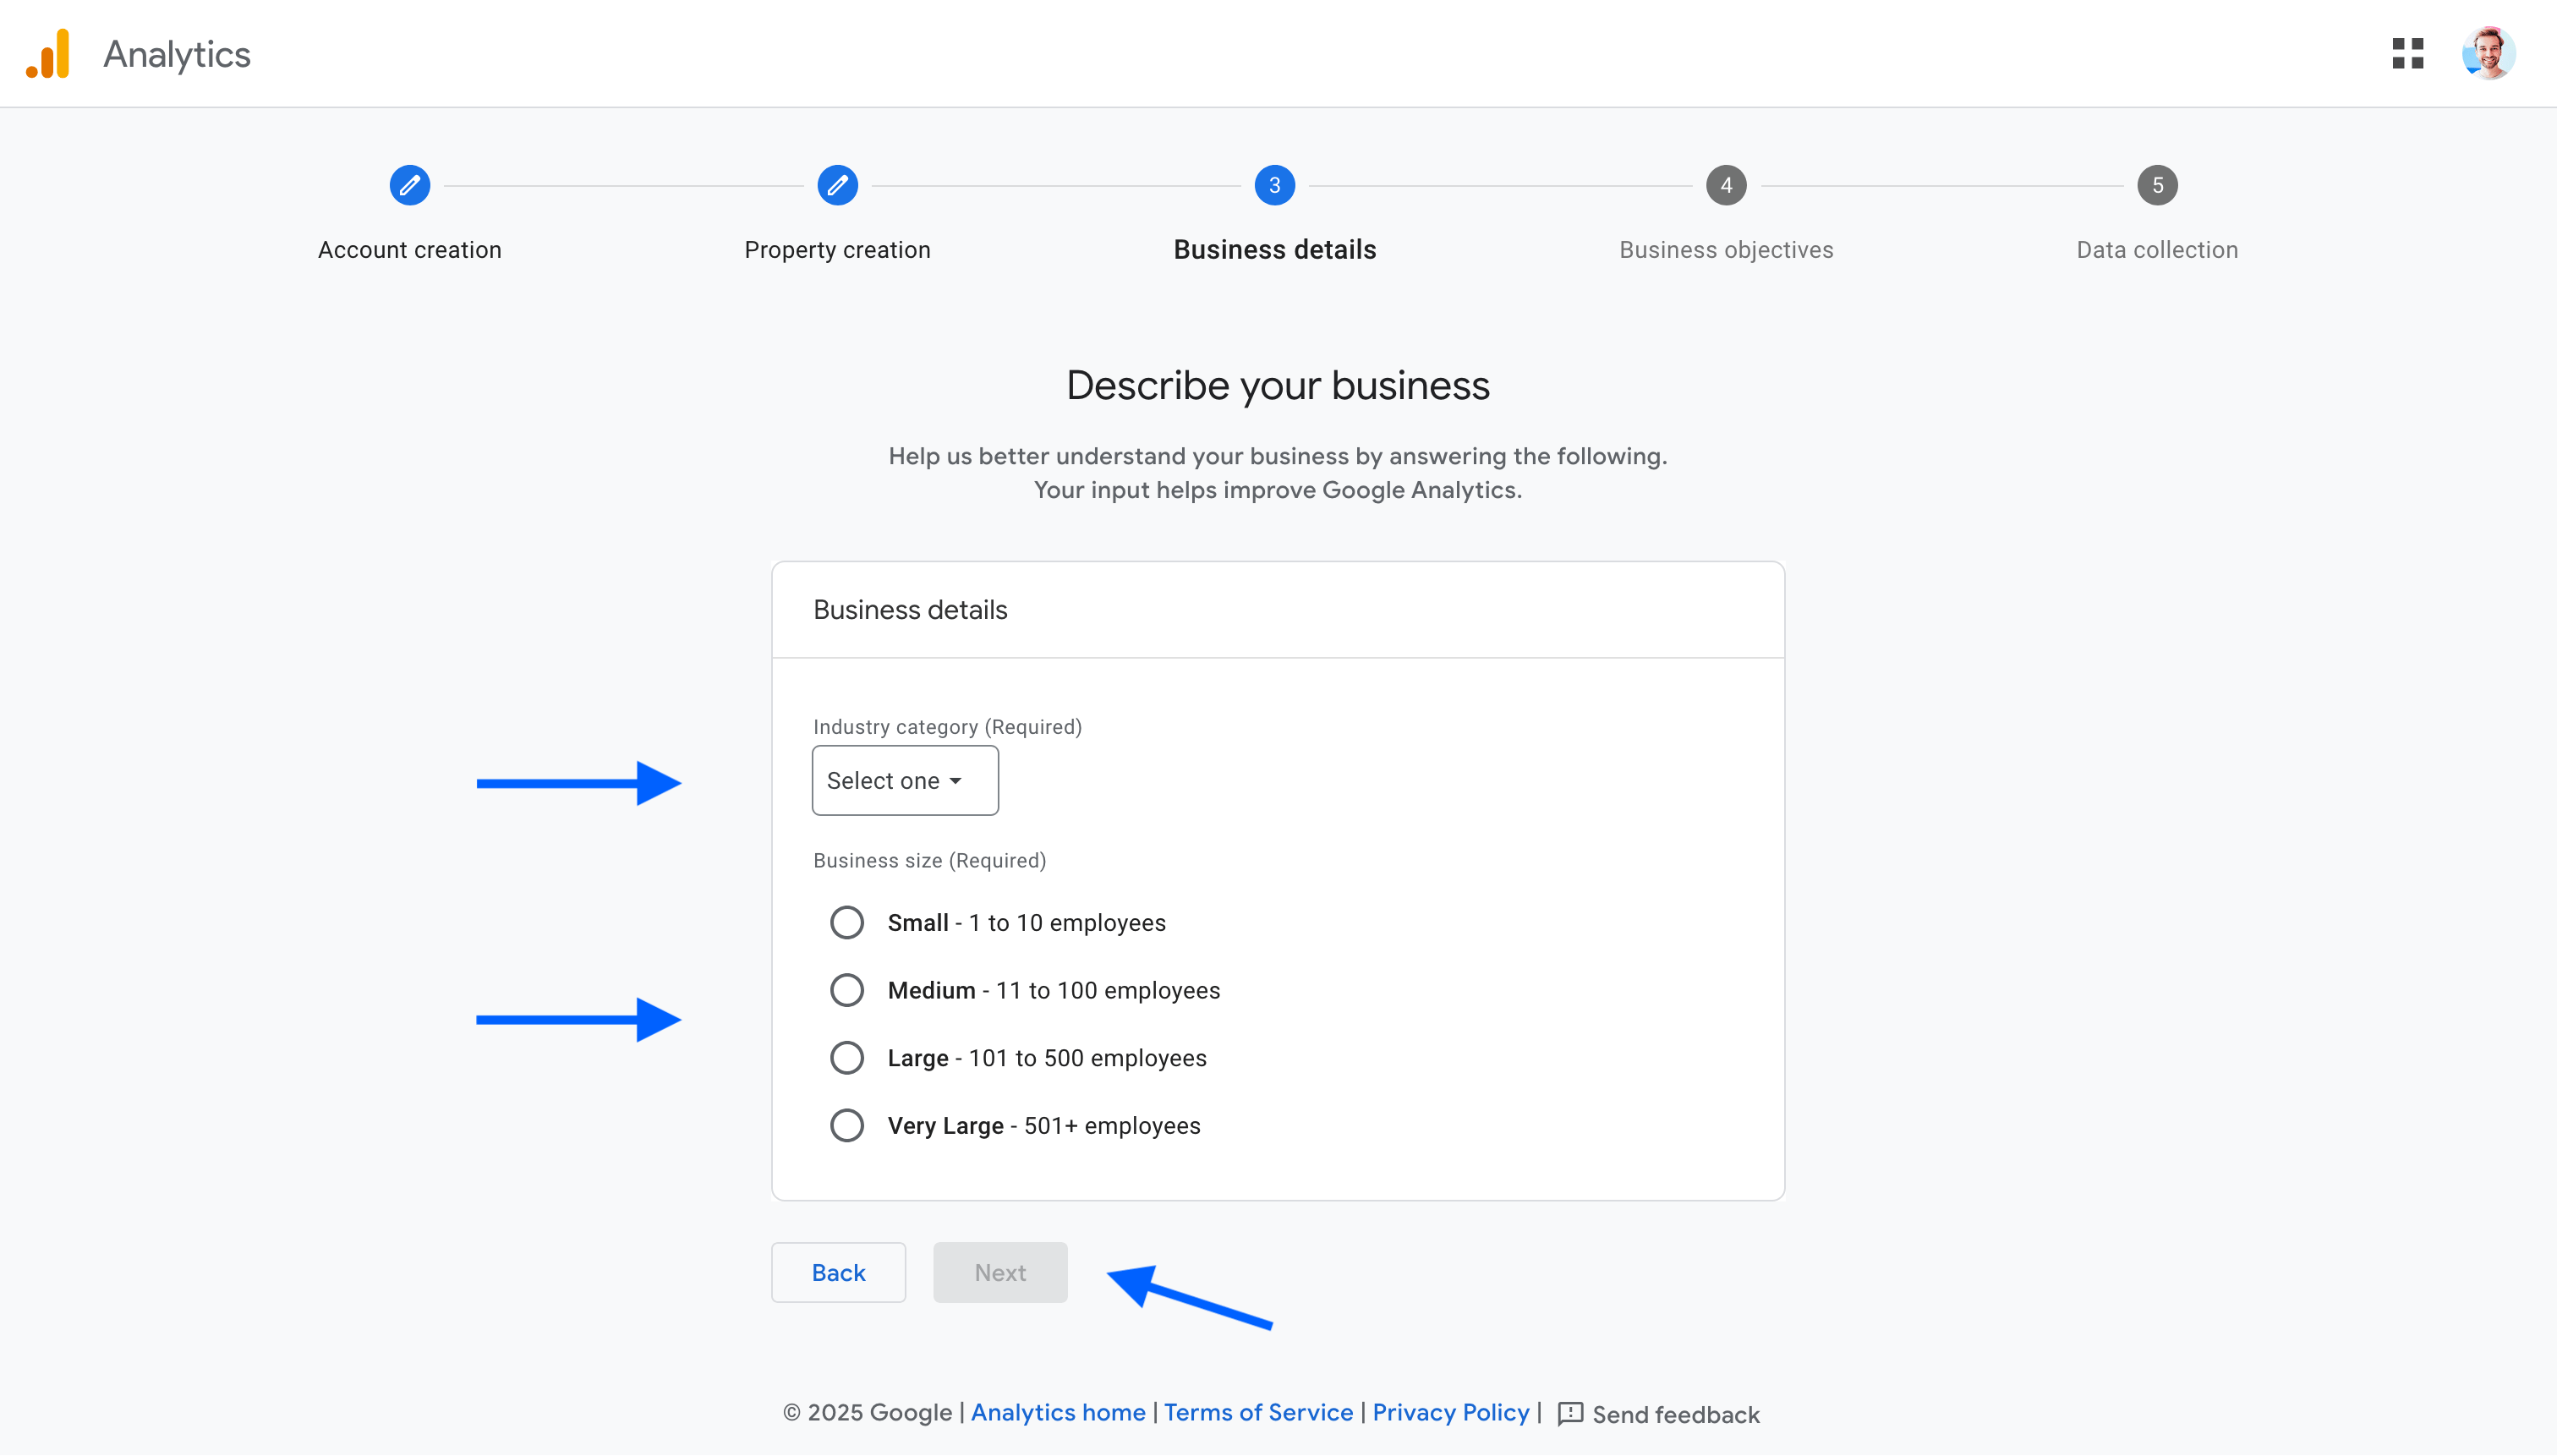
Then describe your company. The data you enter here does not really matter.
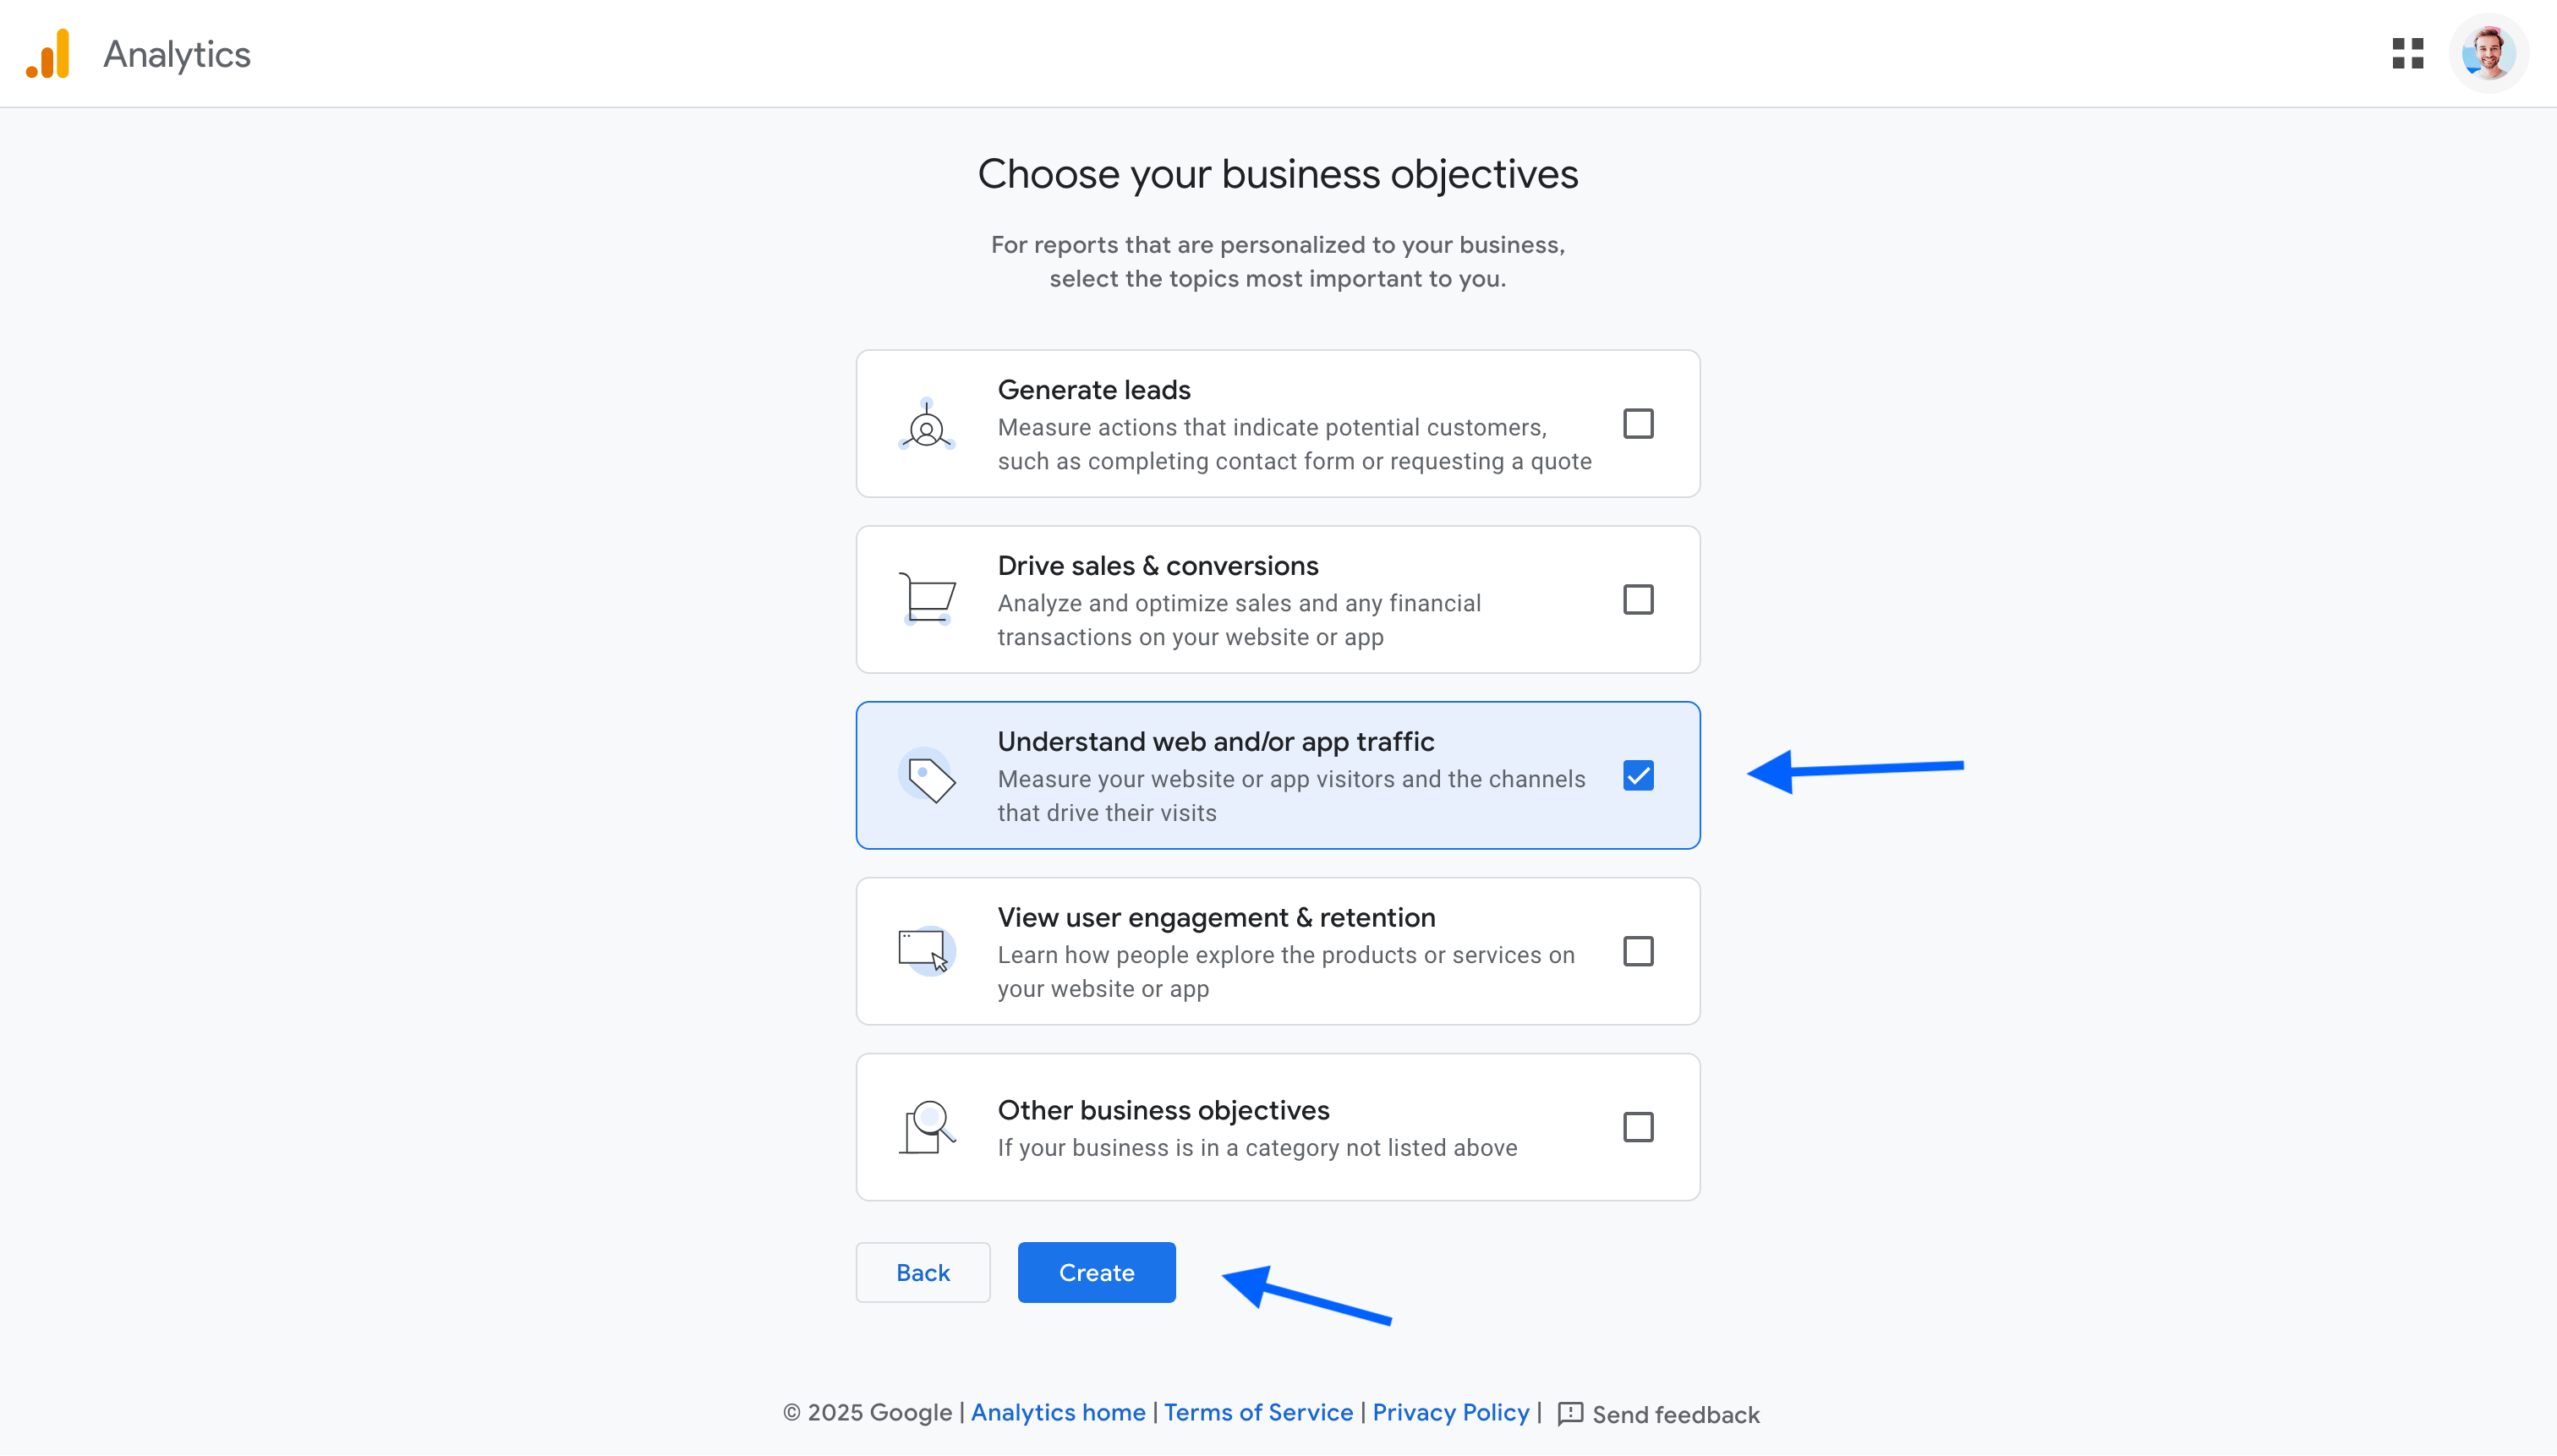
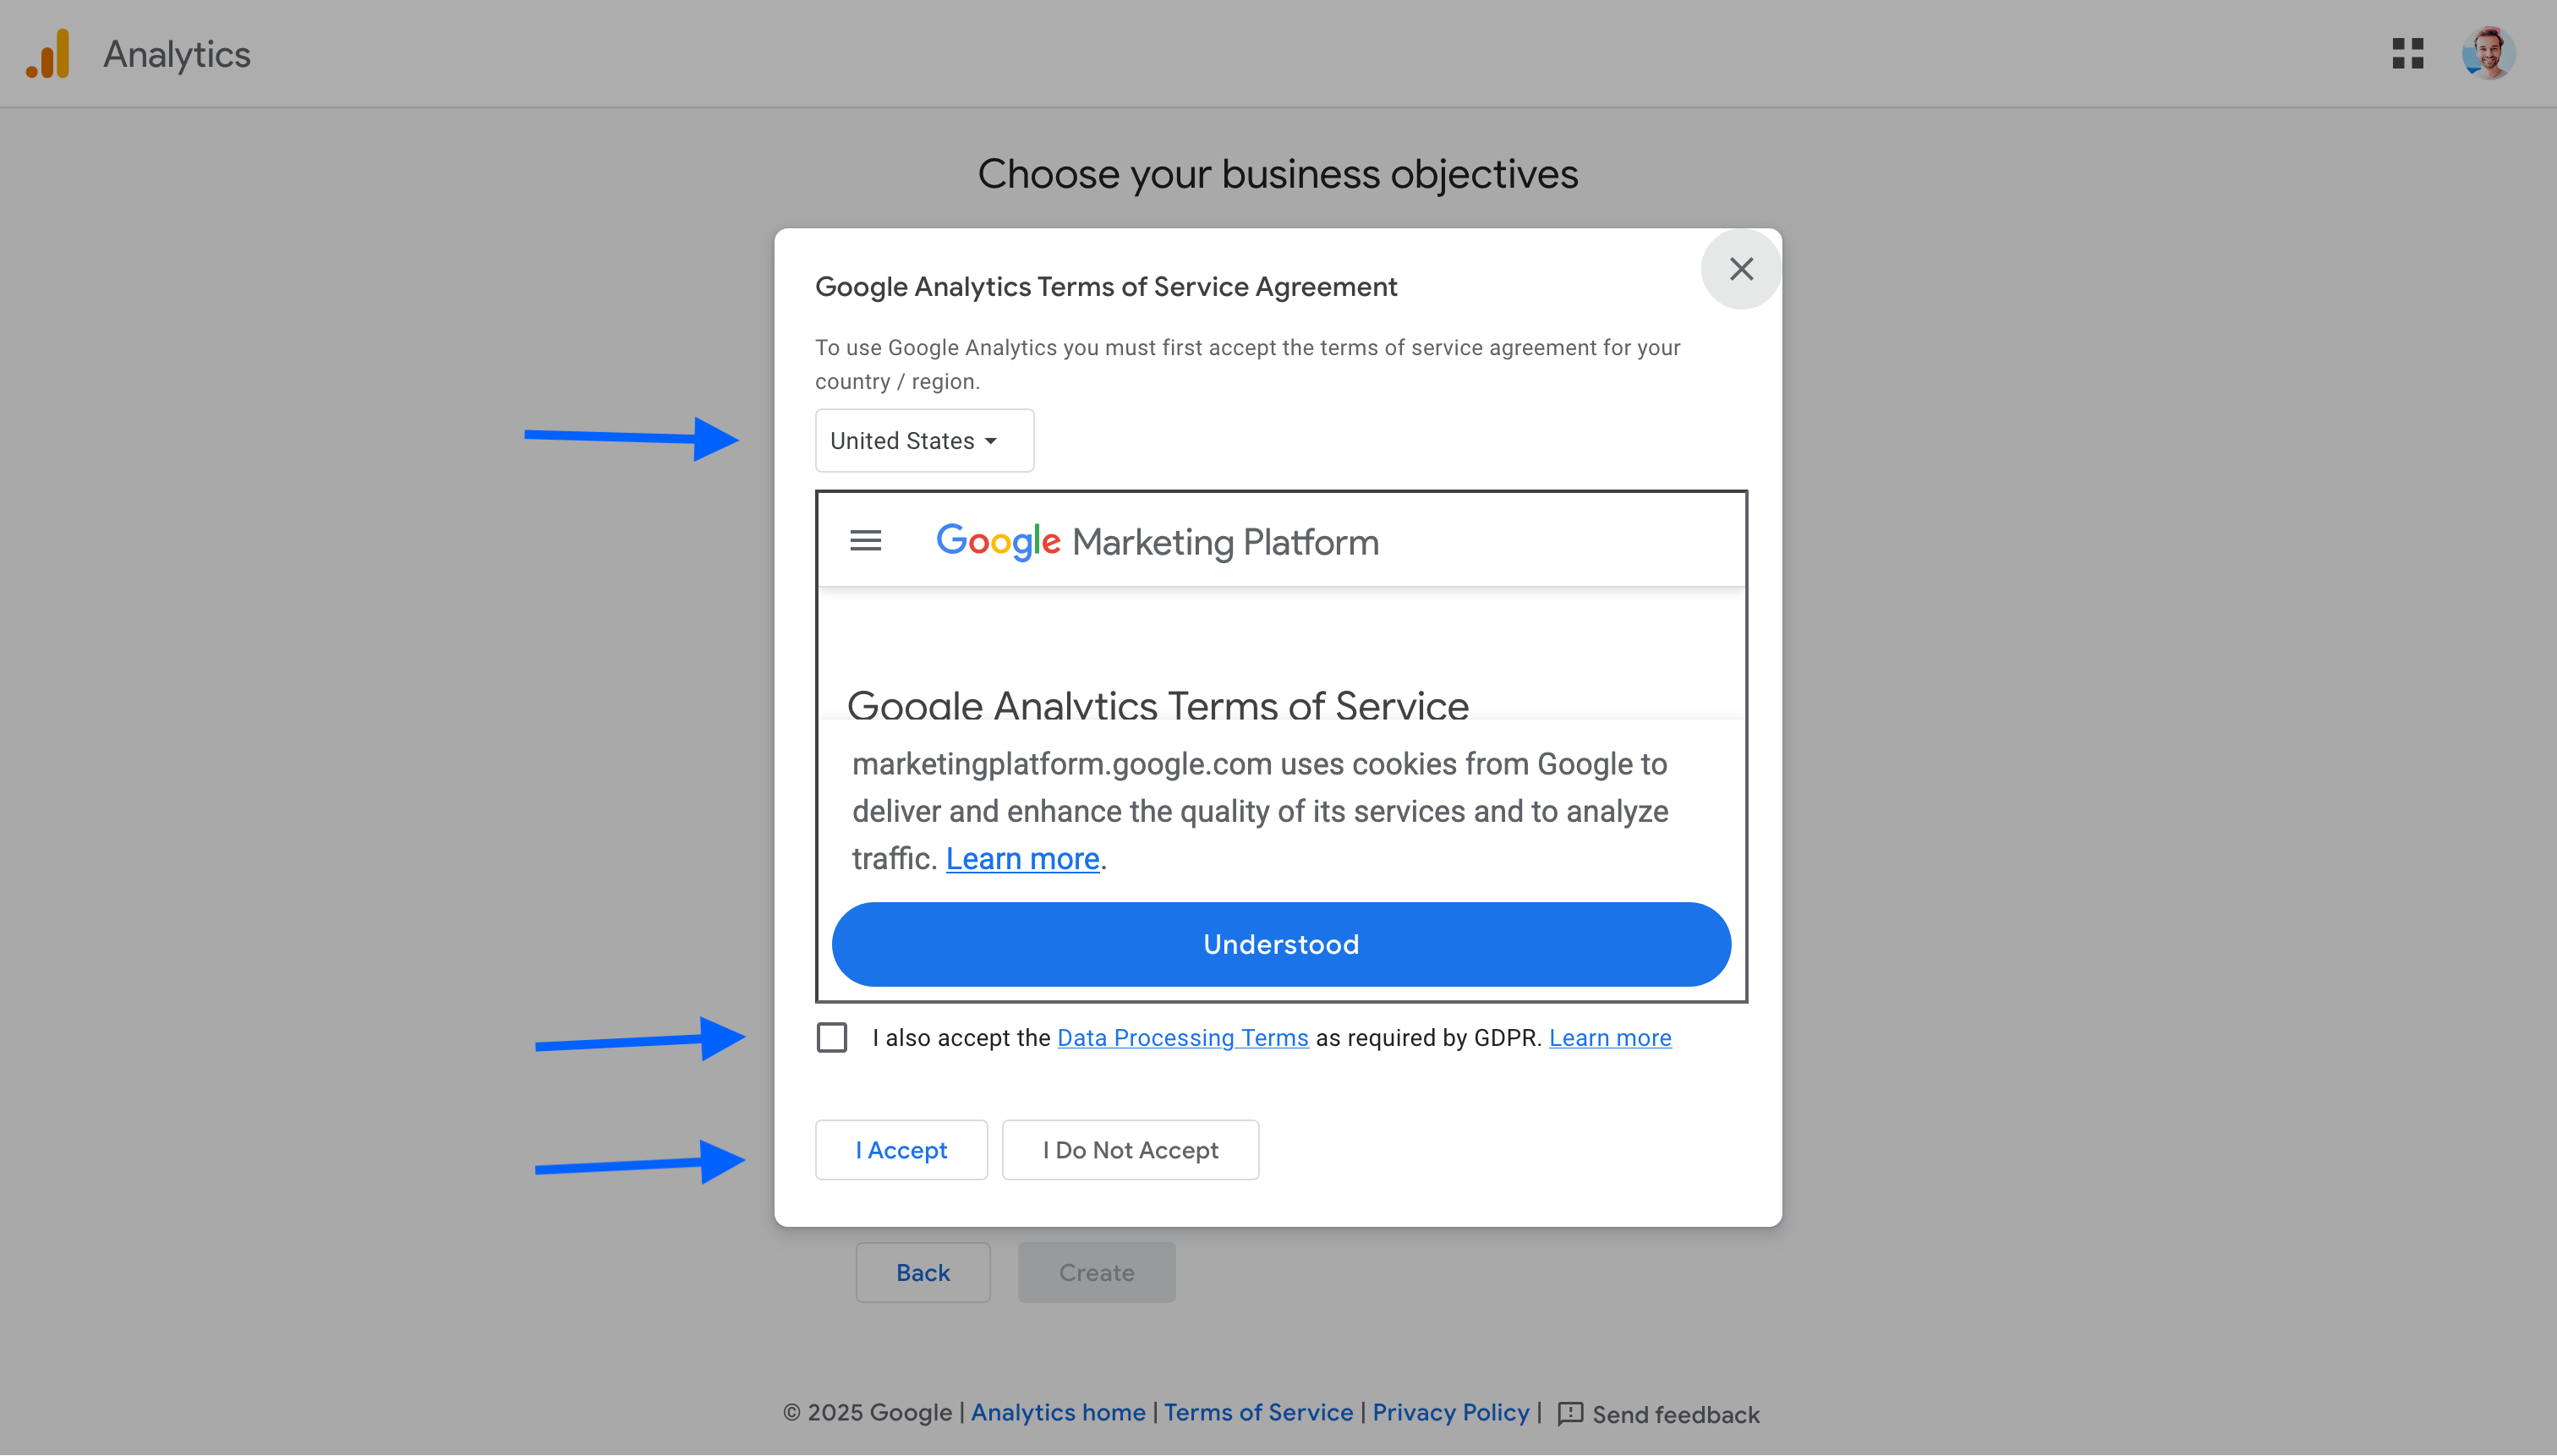
Choose the web traffic option and accept the terms of use. Depending on your country, you may be asked to accept the data processing terms by clicking on the checkbox.
Create a GA4 data stream
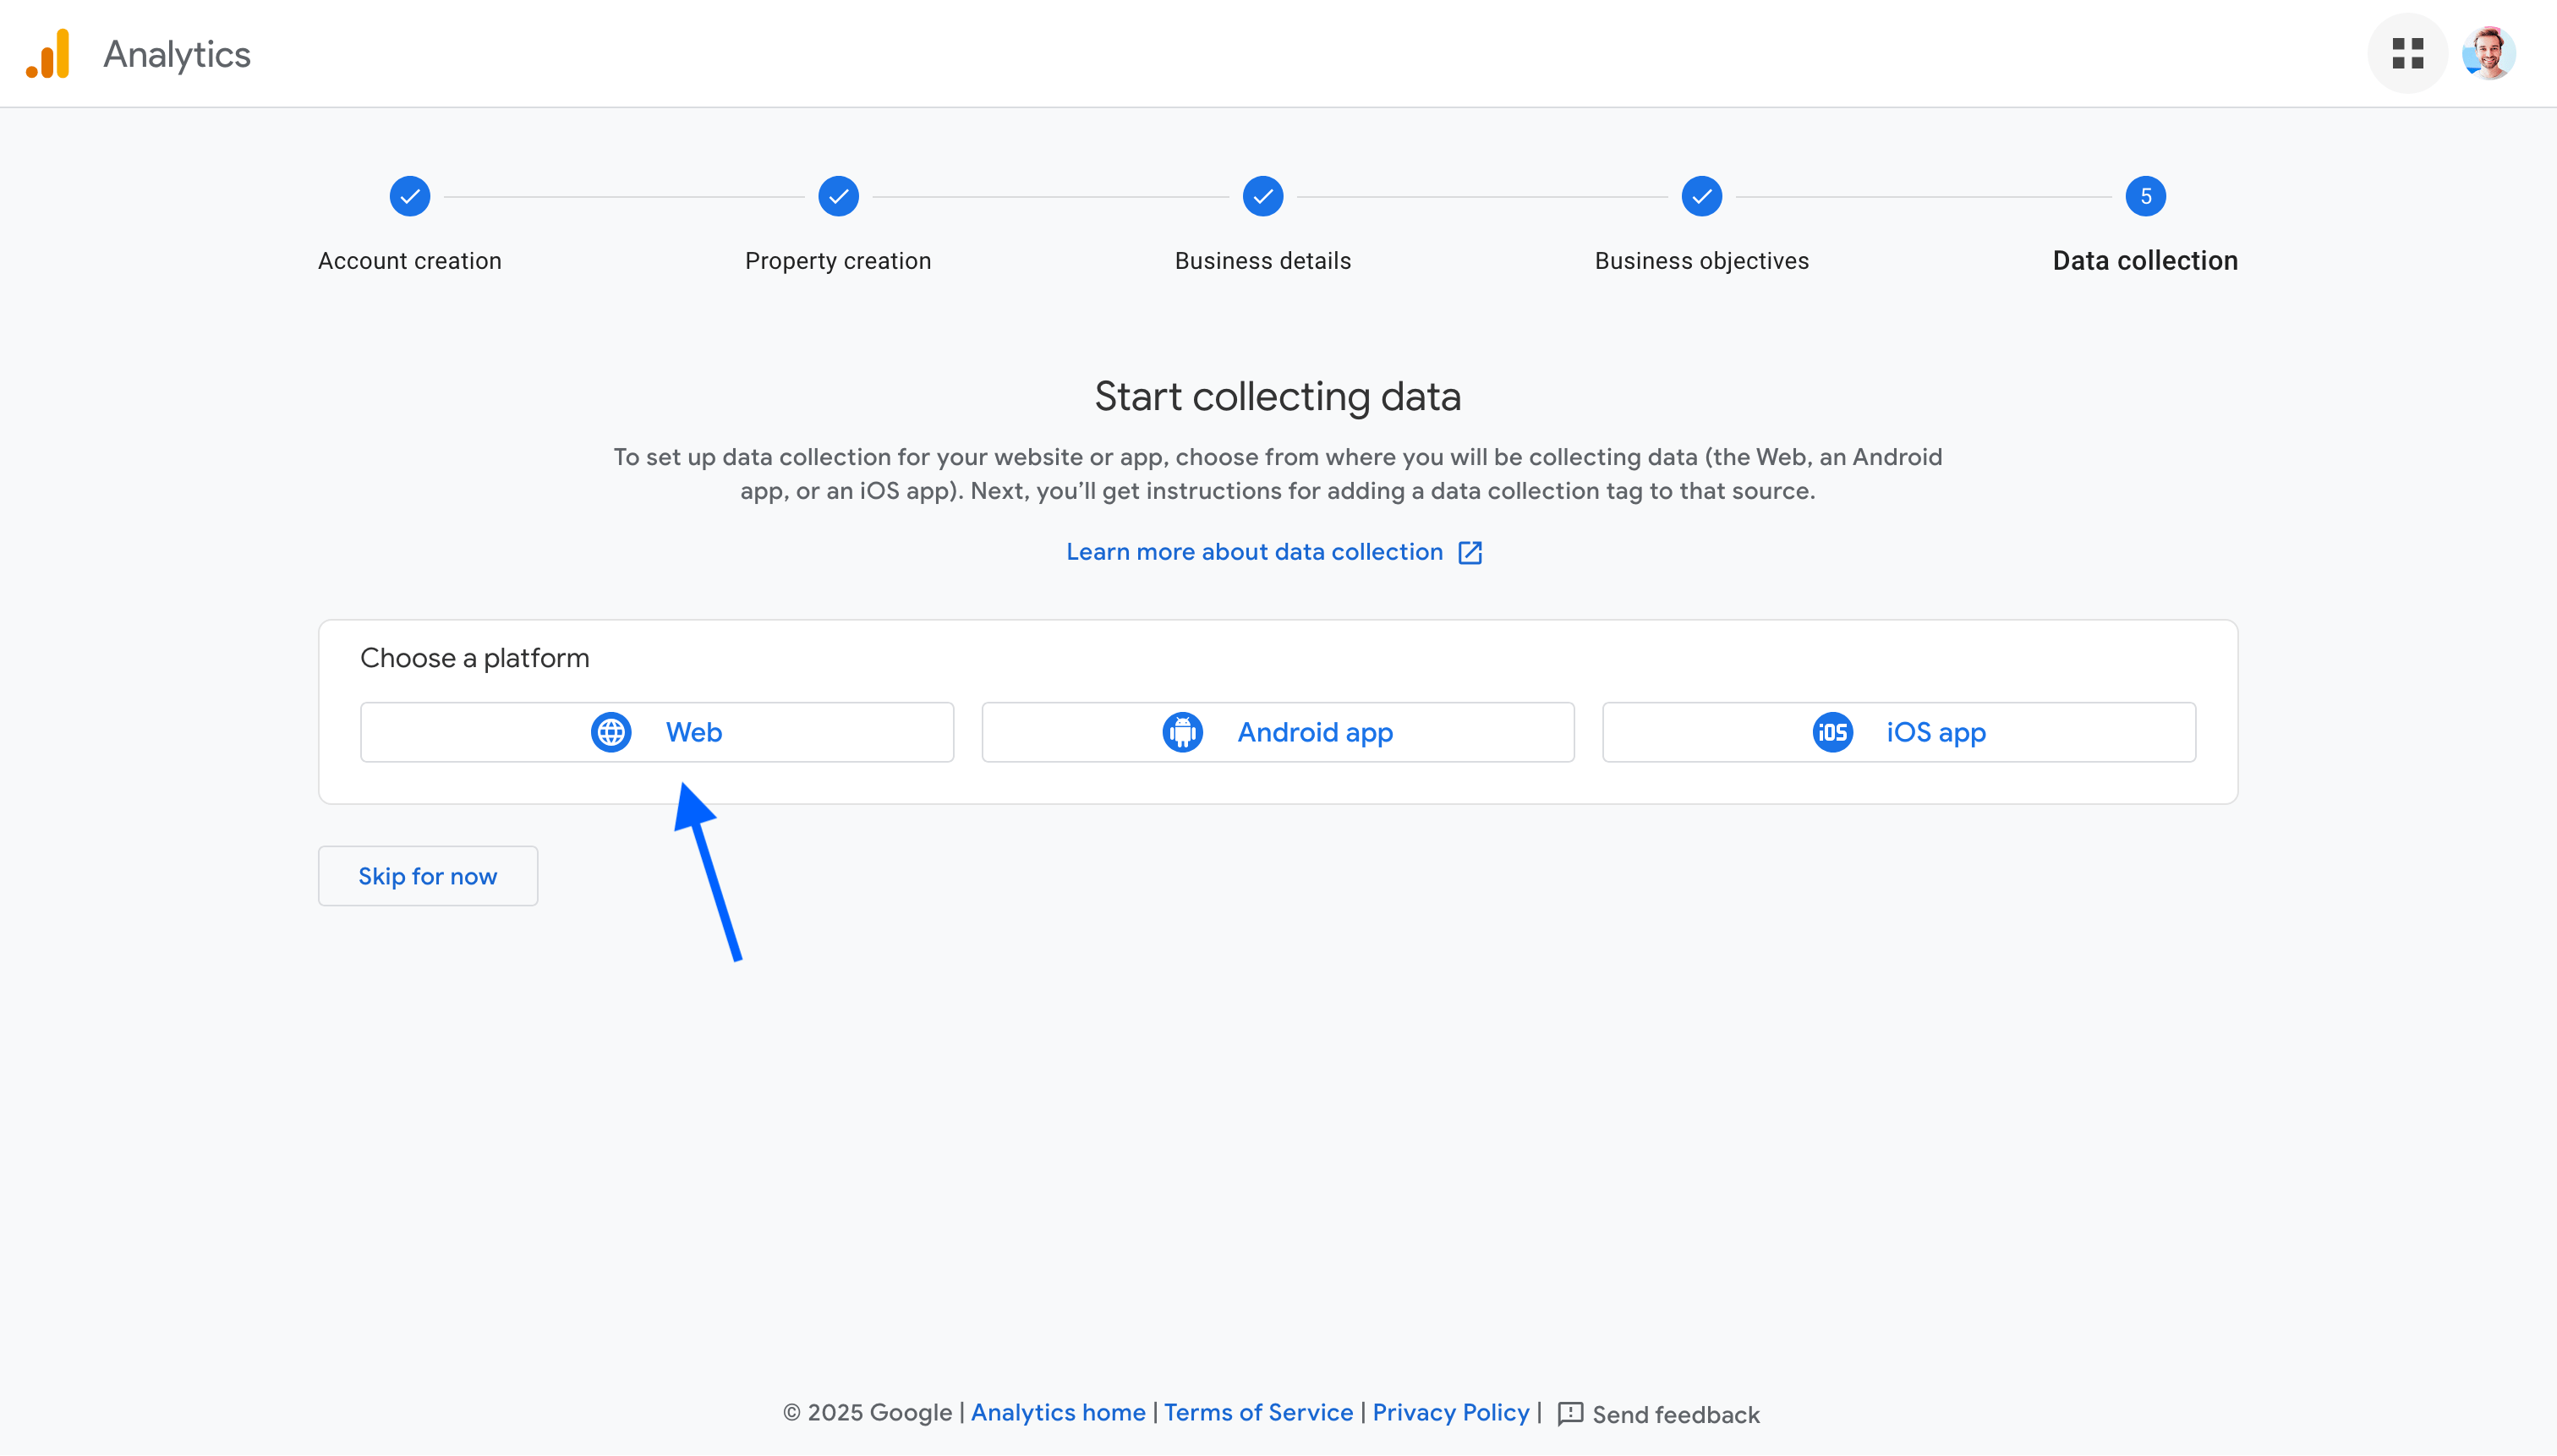
Click on the Web button to create your data stream.
Type your website URL and enter your website name with - Web stream at the end like this: My website name - Web stream. Click on Create and continue.
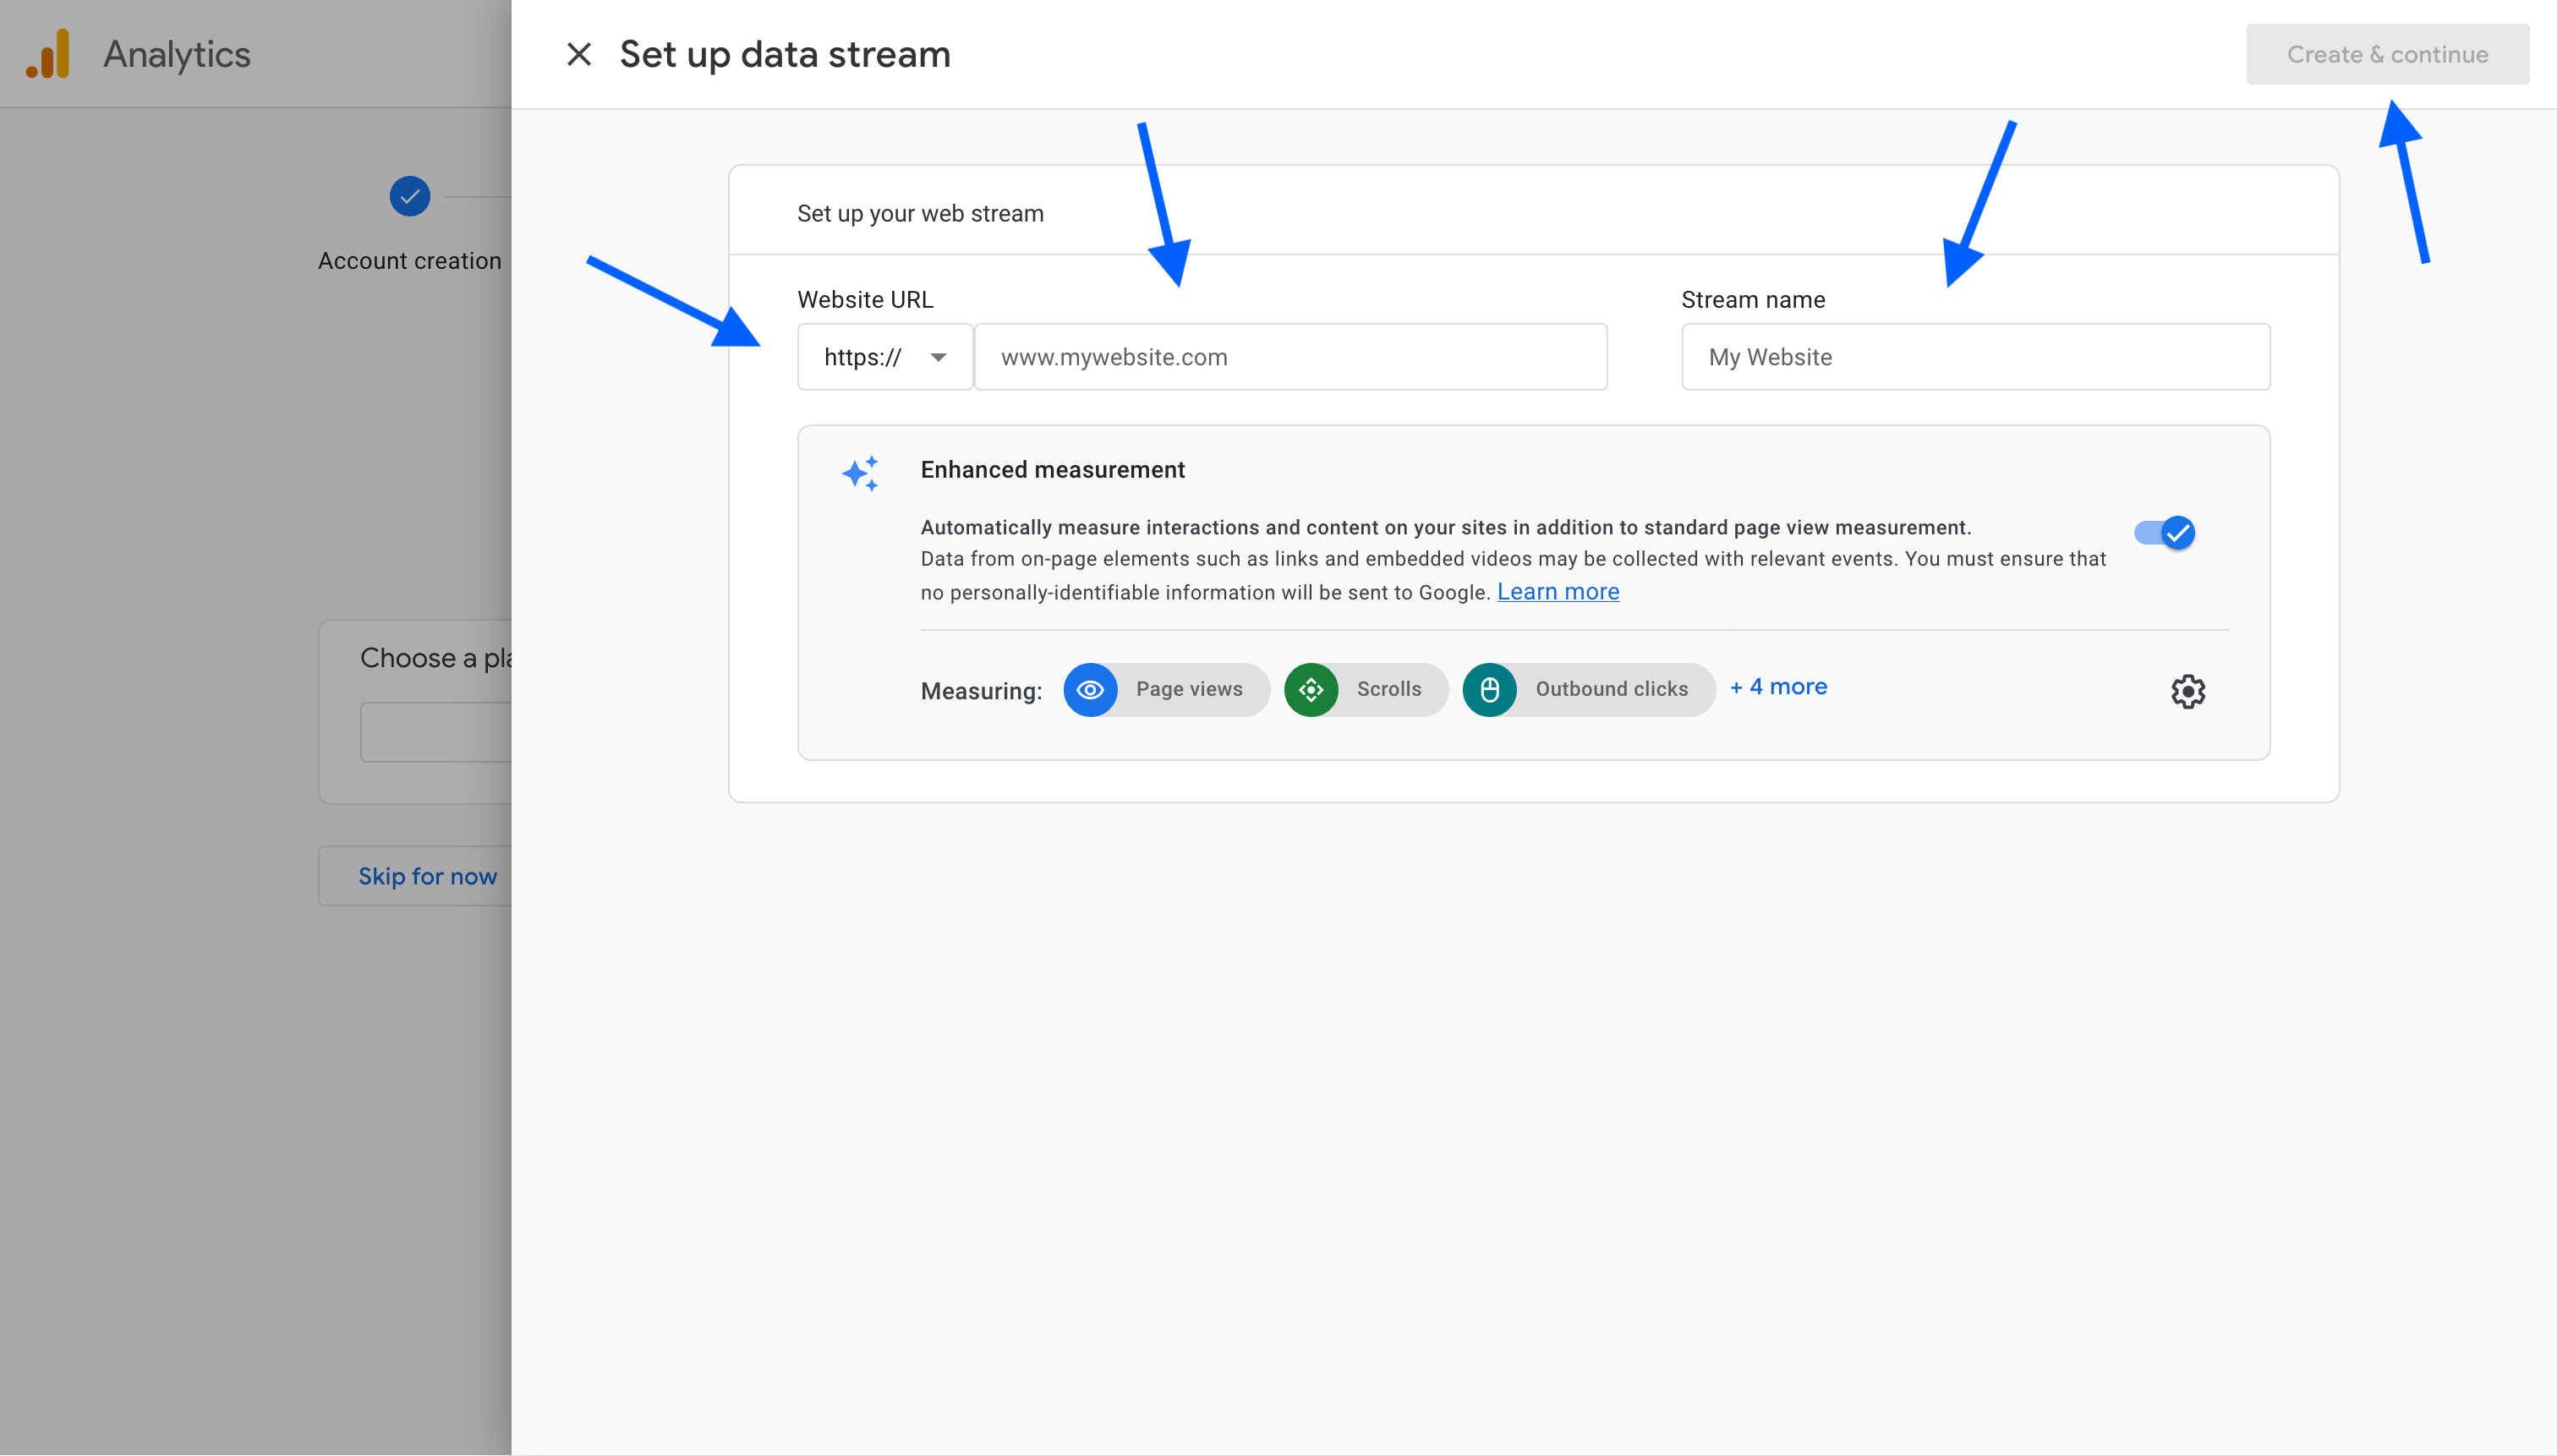
You can close the Set up a Google tag and Web stream details panels for now.
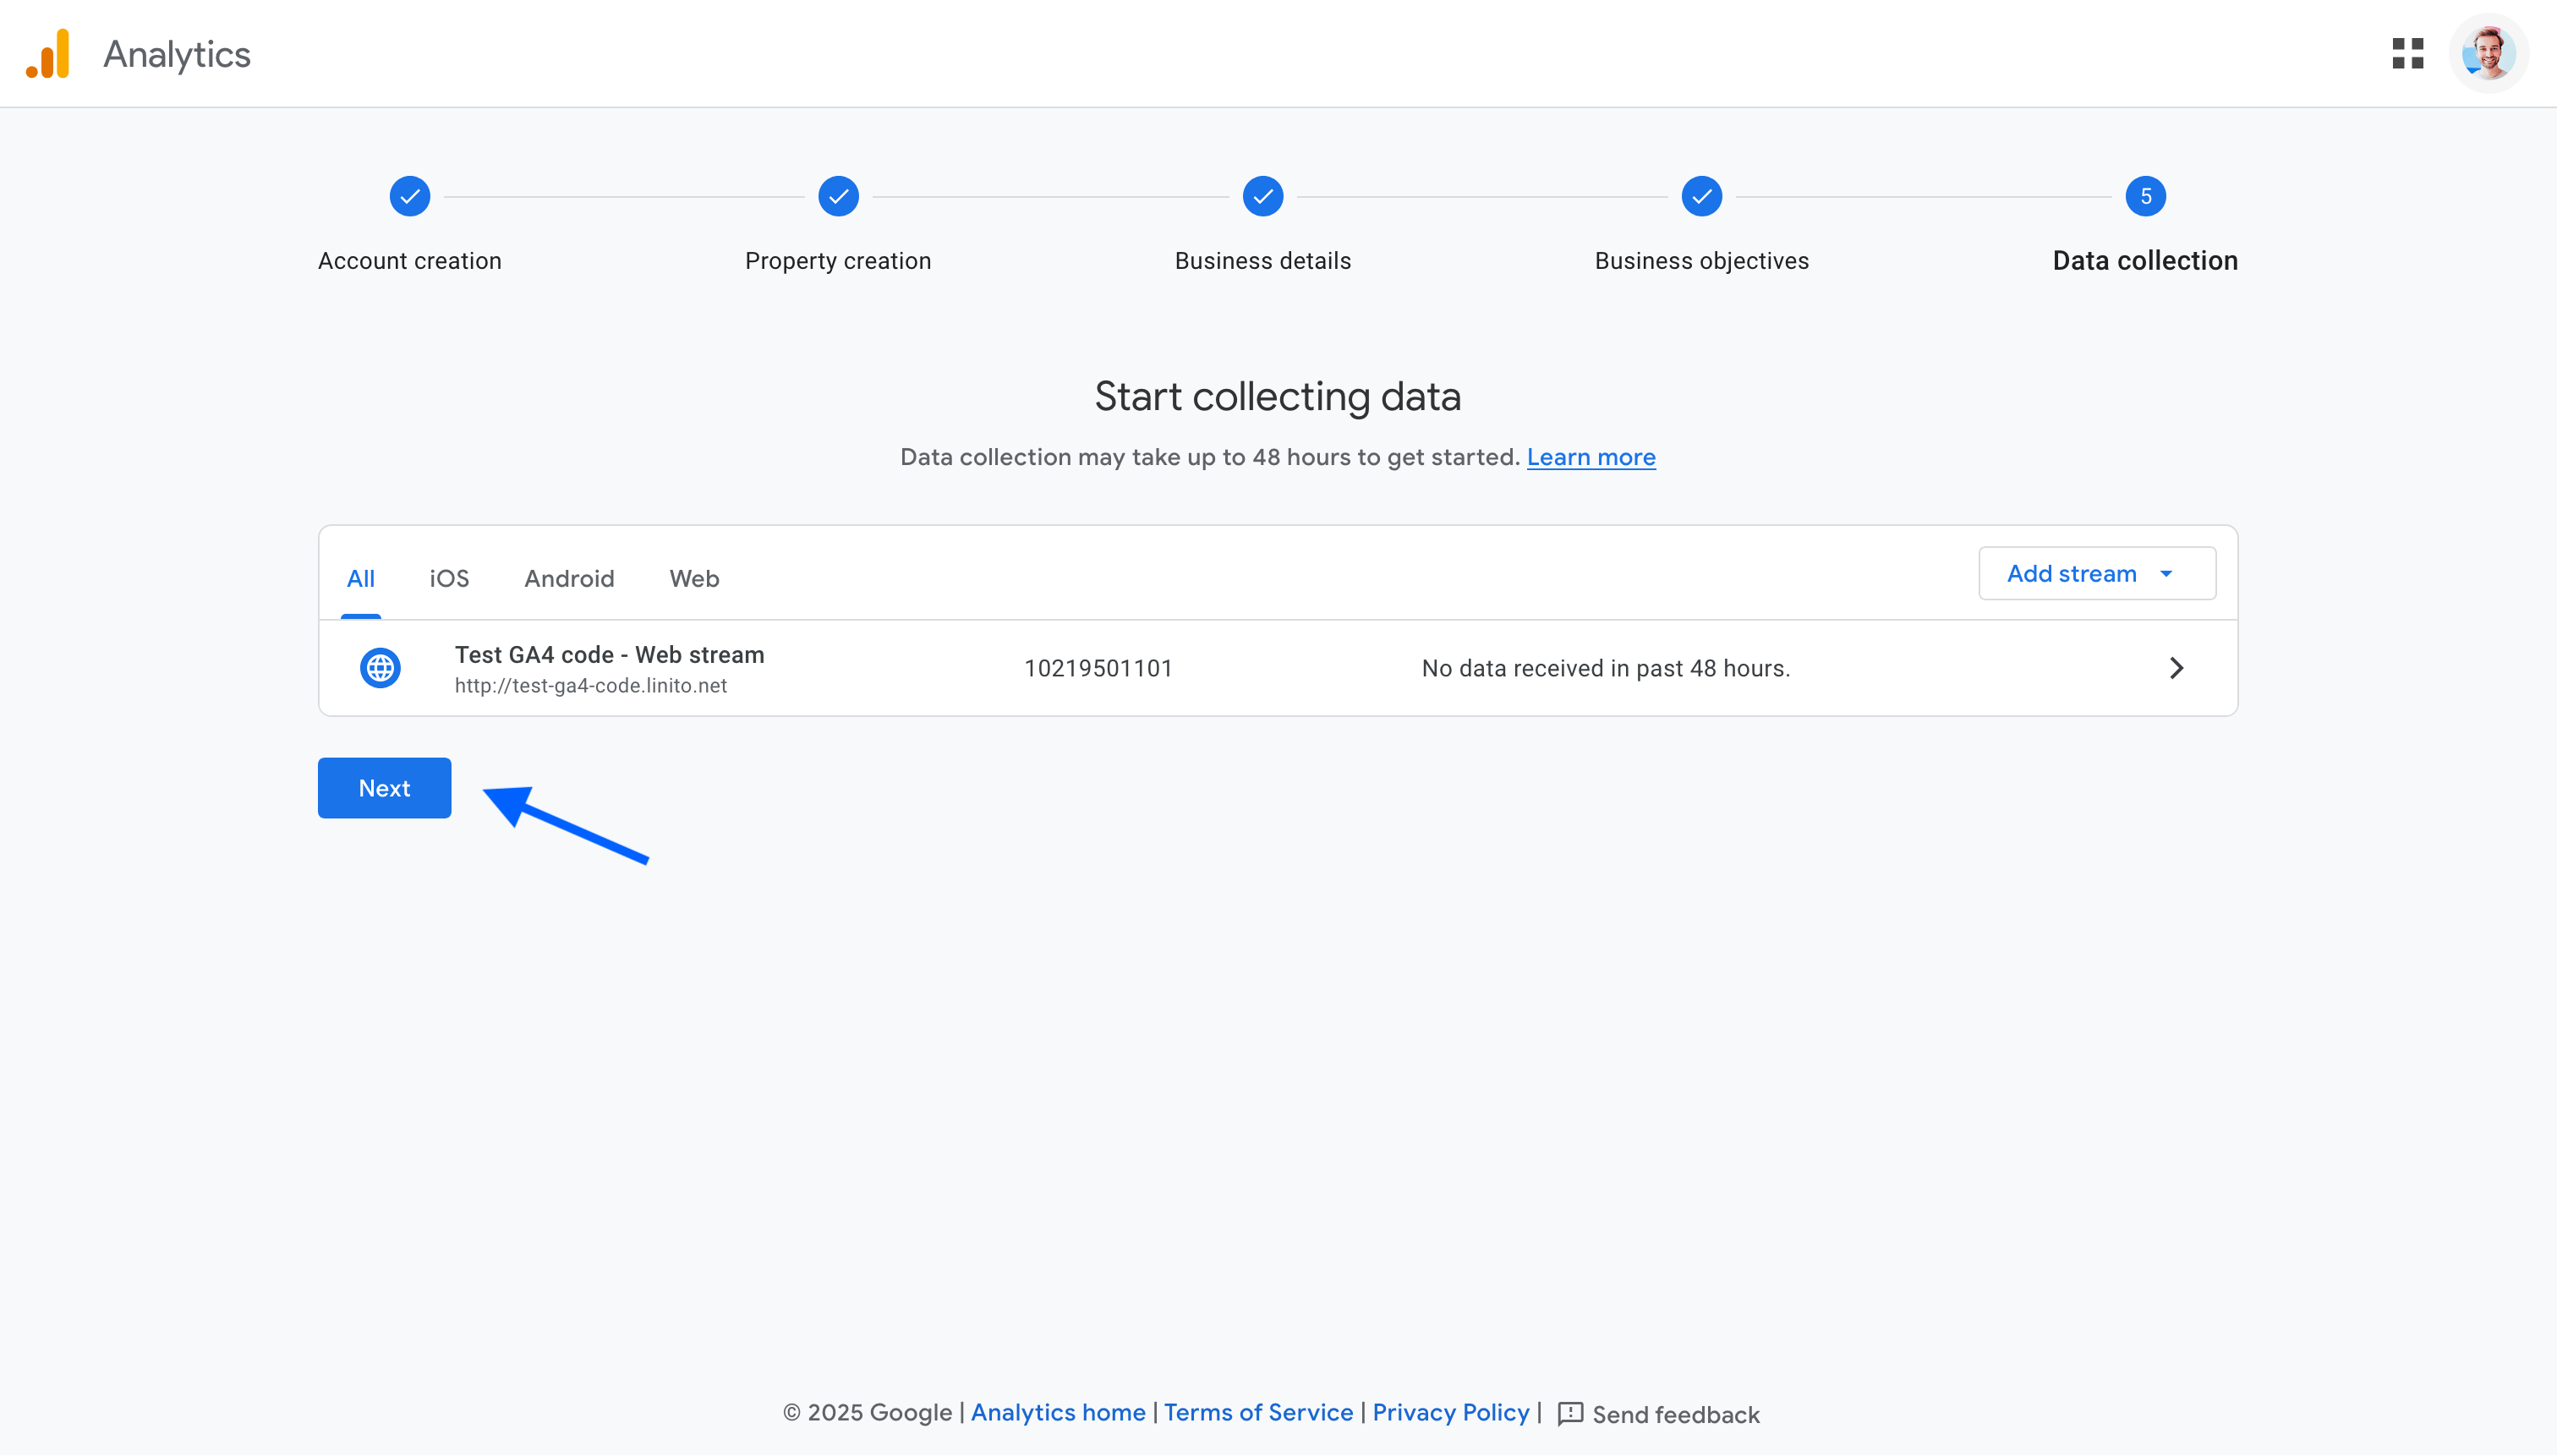
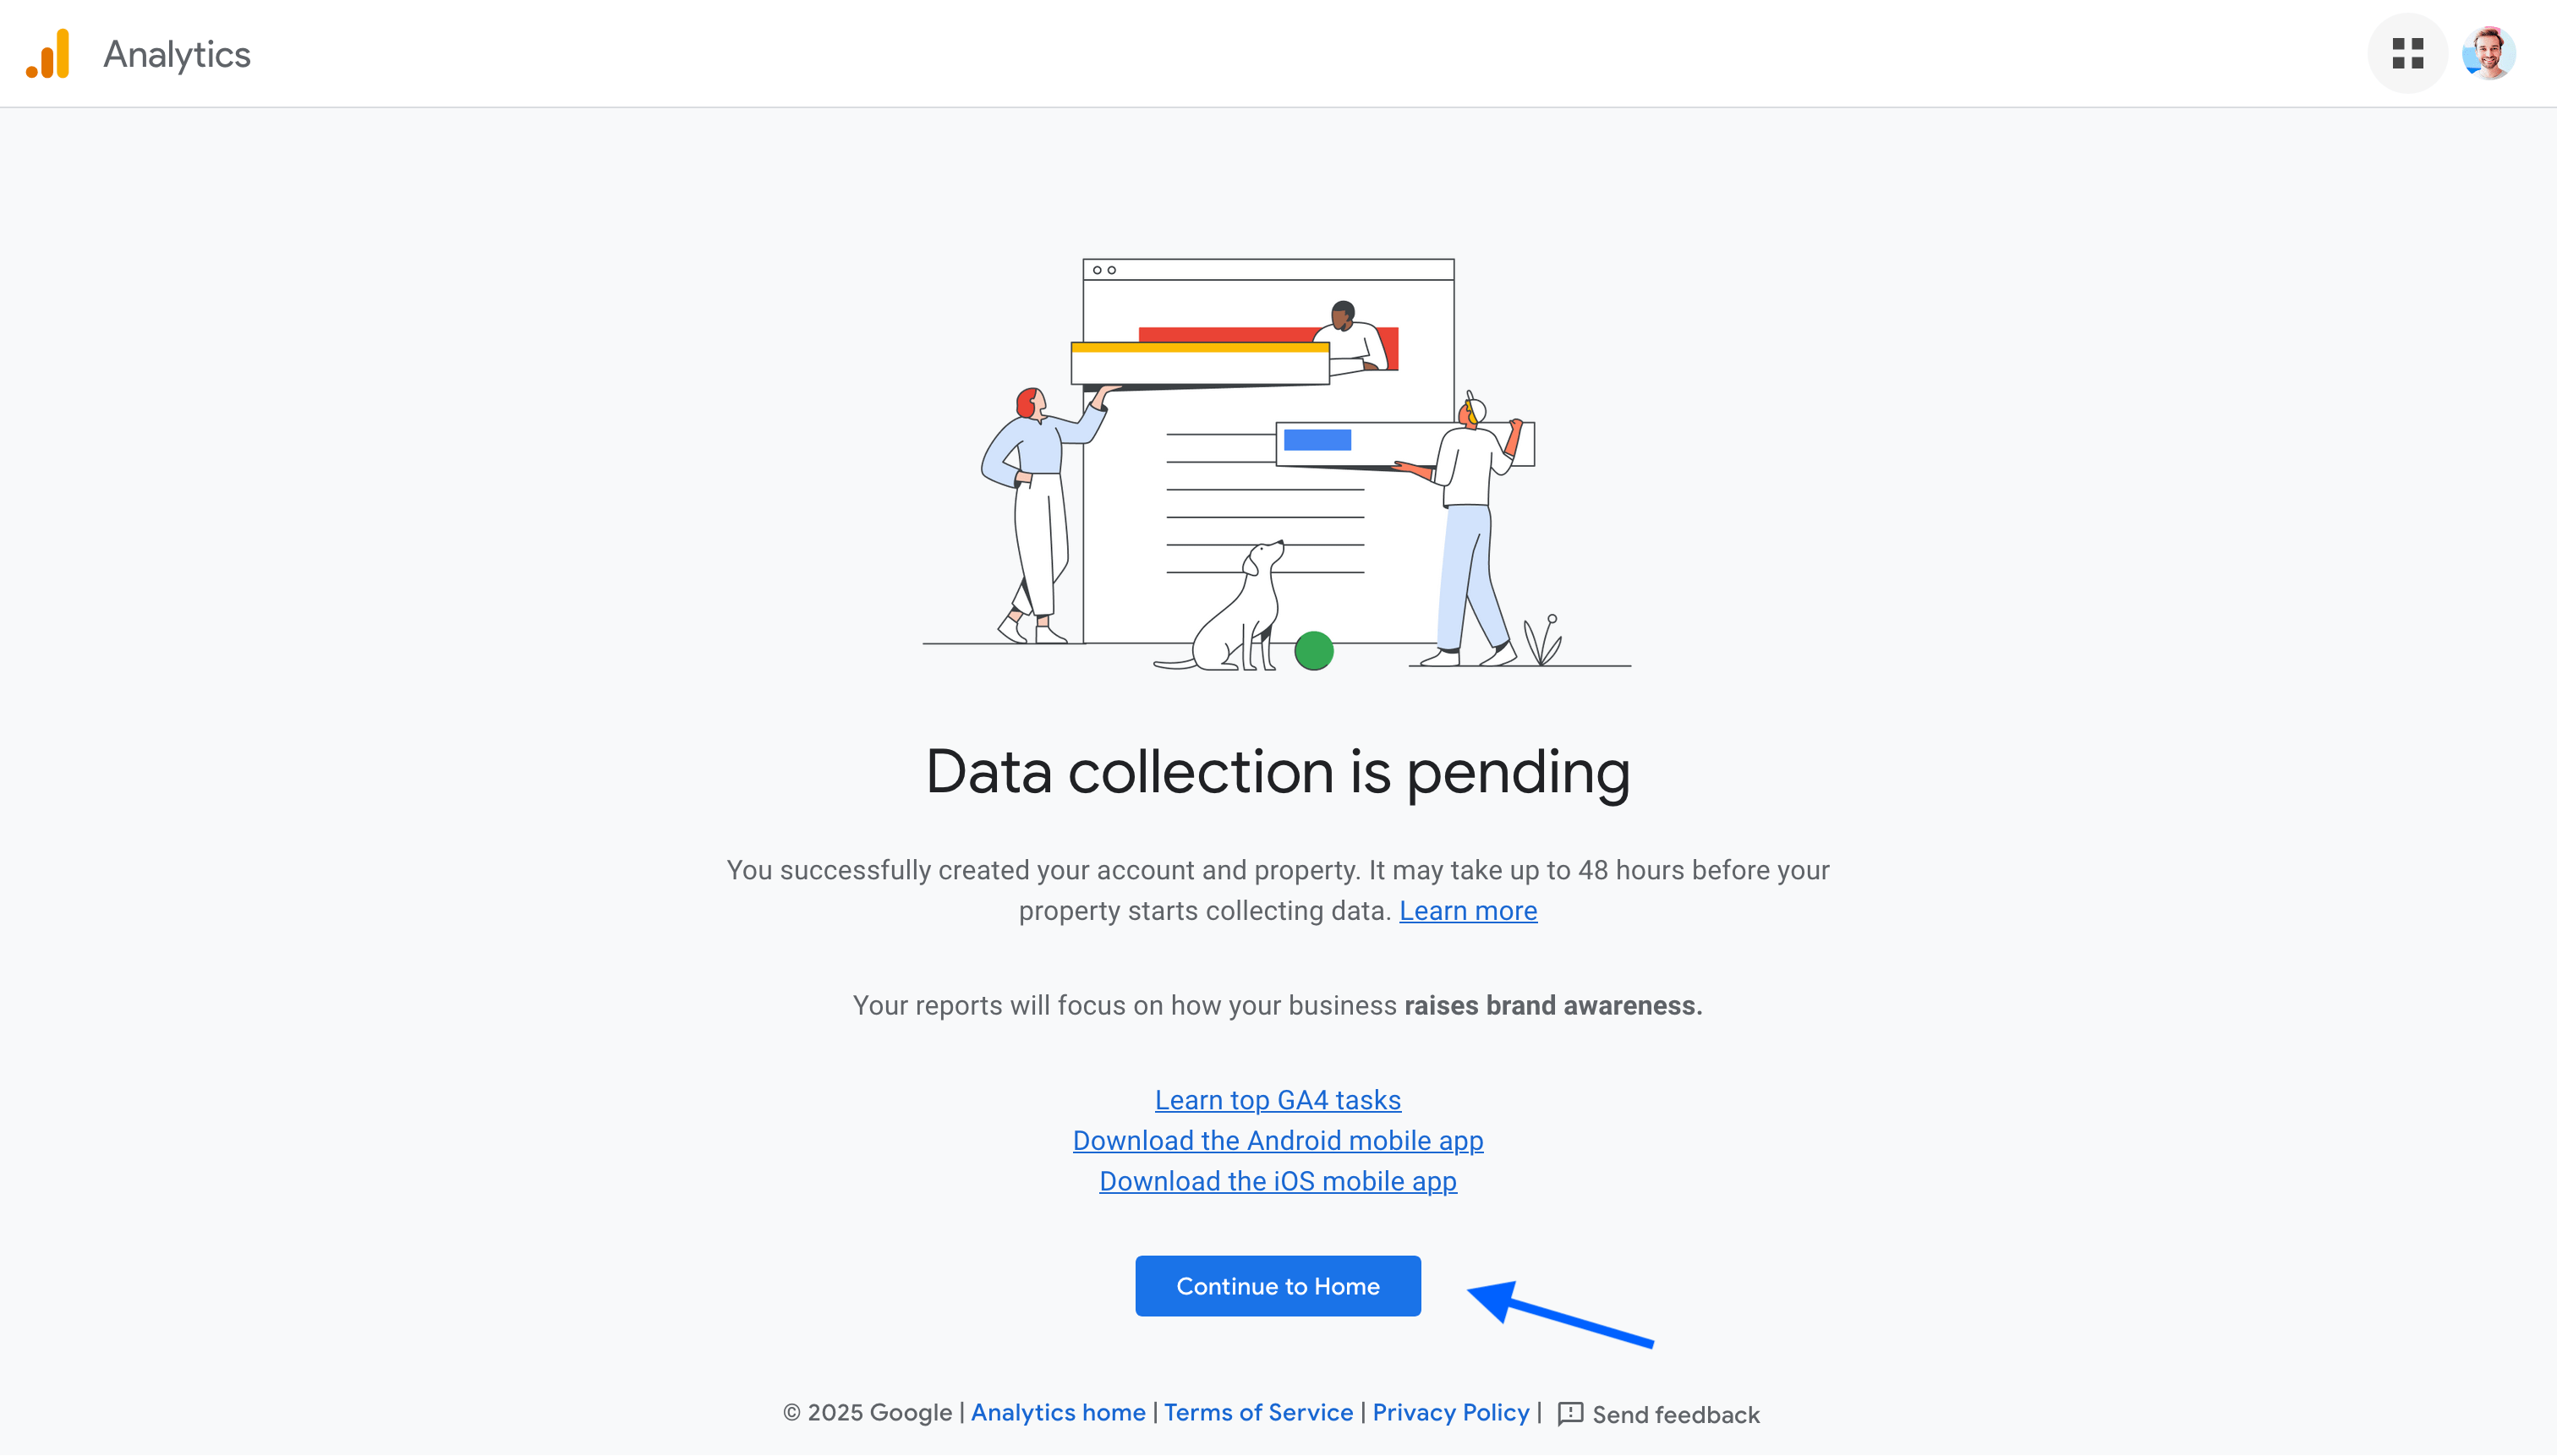
Once the web stream is created, click Next and then Continue to home.
Extend the data retention period
Google Analytics is now almost fully configured. Before adding it to your website, there’s one last thing you need to do. By default, Google Analytics only keeps your historical data for 2 months. If you’d like to keep them for 14 months, go to your admin panel and modify your configuration as follows.

Add GA4 to your website
Now that Google Analytics is properly configured, you can add it to your website. For this, you will need to add a tracking code.